Before and After repairs...
Before you throw your favourite item of clothing in the bin, perhaps something can be done to revive it! You might be surprised just what can be done.
(Sorry some of the pictures are not the best but I am not photographer and my camera was not really up to the job)
If you're interested to see how some of the clothing alterations are made, please see the brief descriptions below and scroll through the images. (Some of the images aren't as clear as I would like them to be but hopefully, there will be some better photos in the future)
Sleaves alterations
All sleeve alterations are done from the bottom. I remove the buttons, mark and tack the finished length. Remove, mark new fake buttonholes and stitch them (on the Brother). Stitch the vent. Pin the sleeve lining and hand stitch in place. Press and re-attach the buttons.
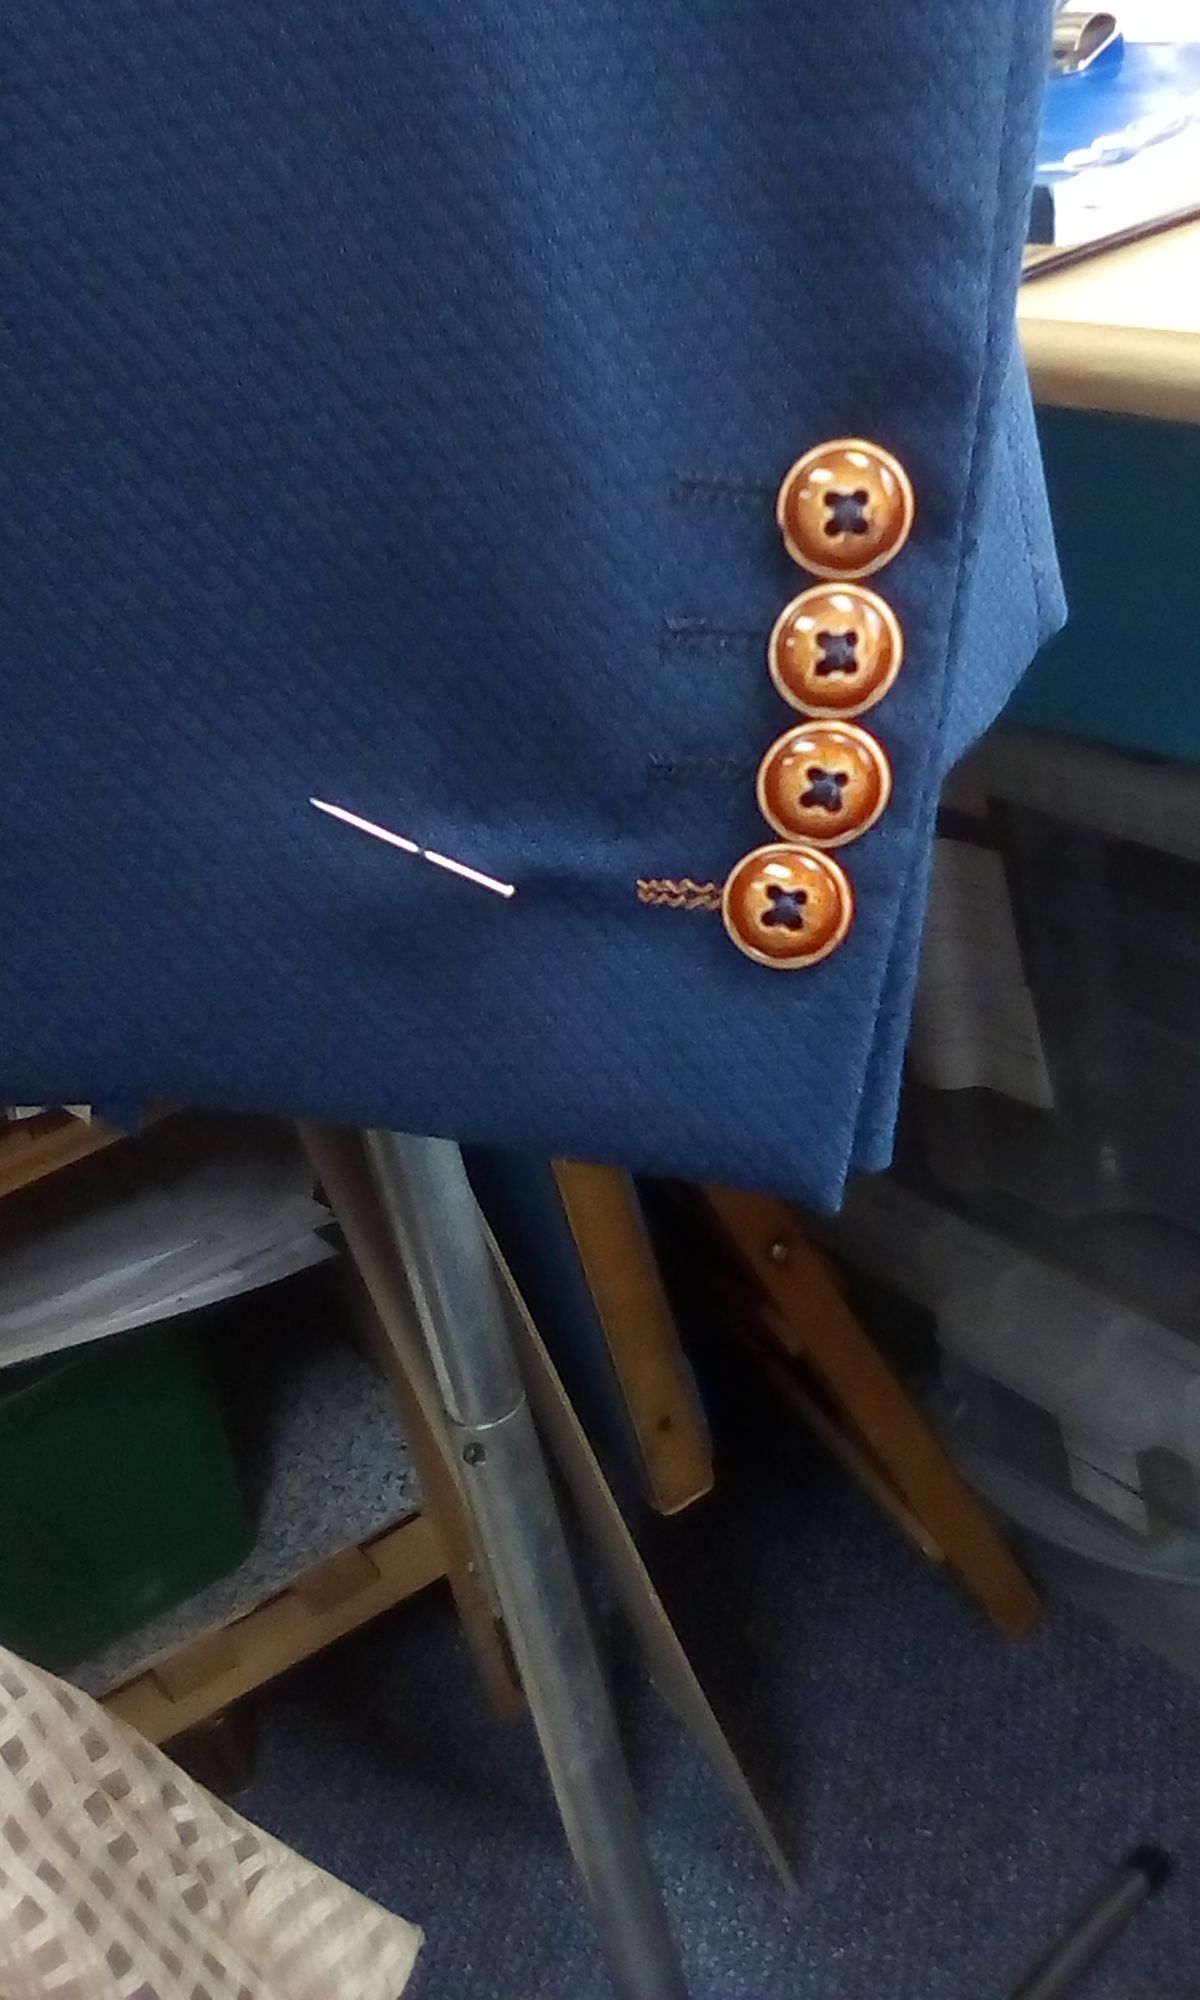
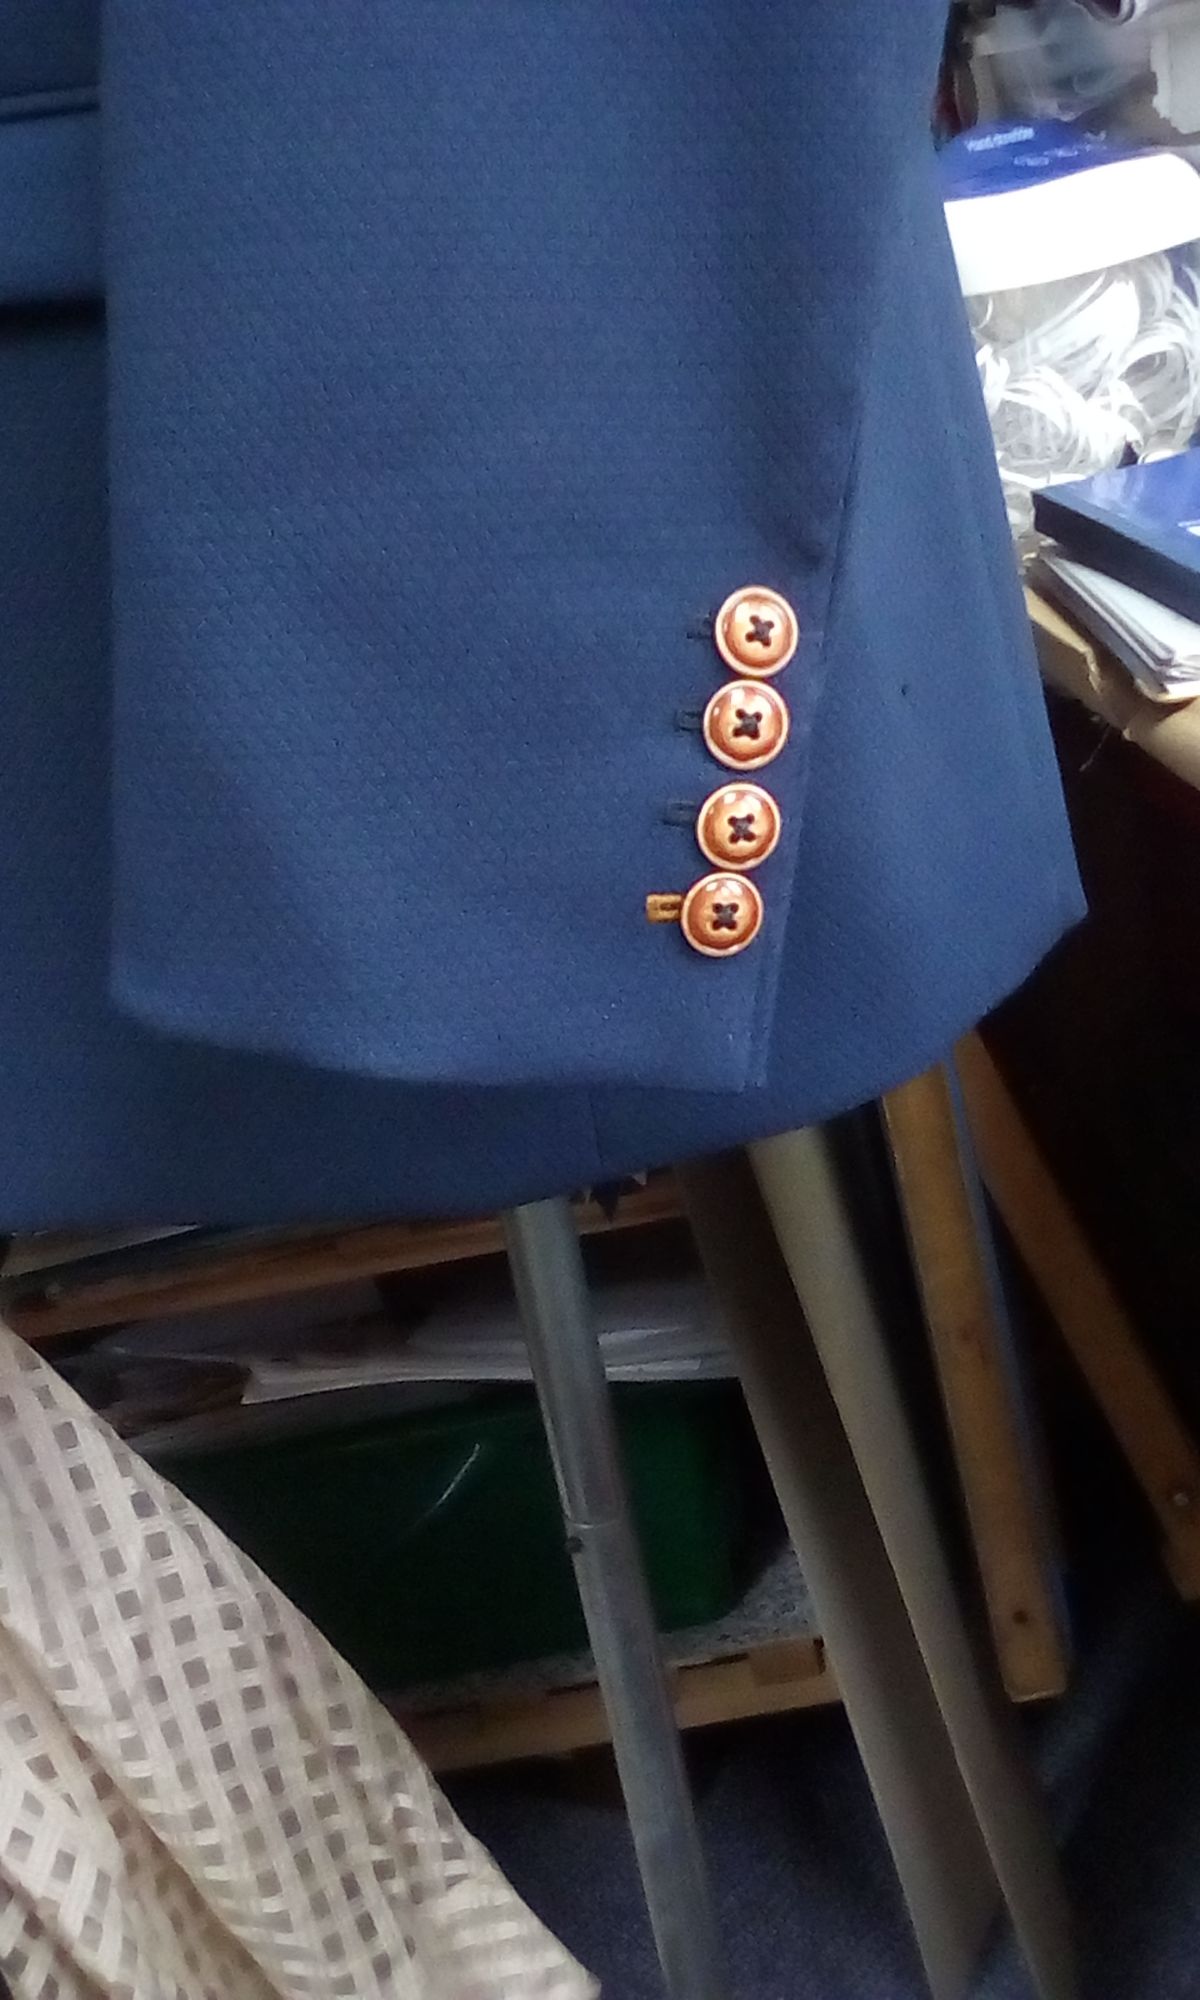
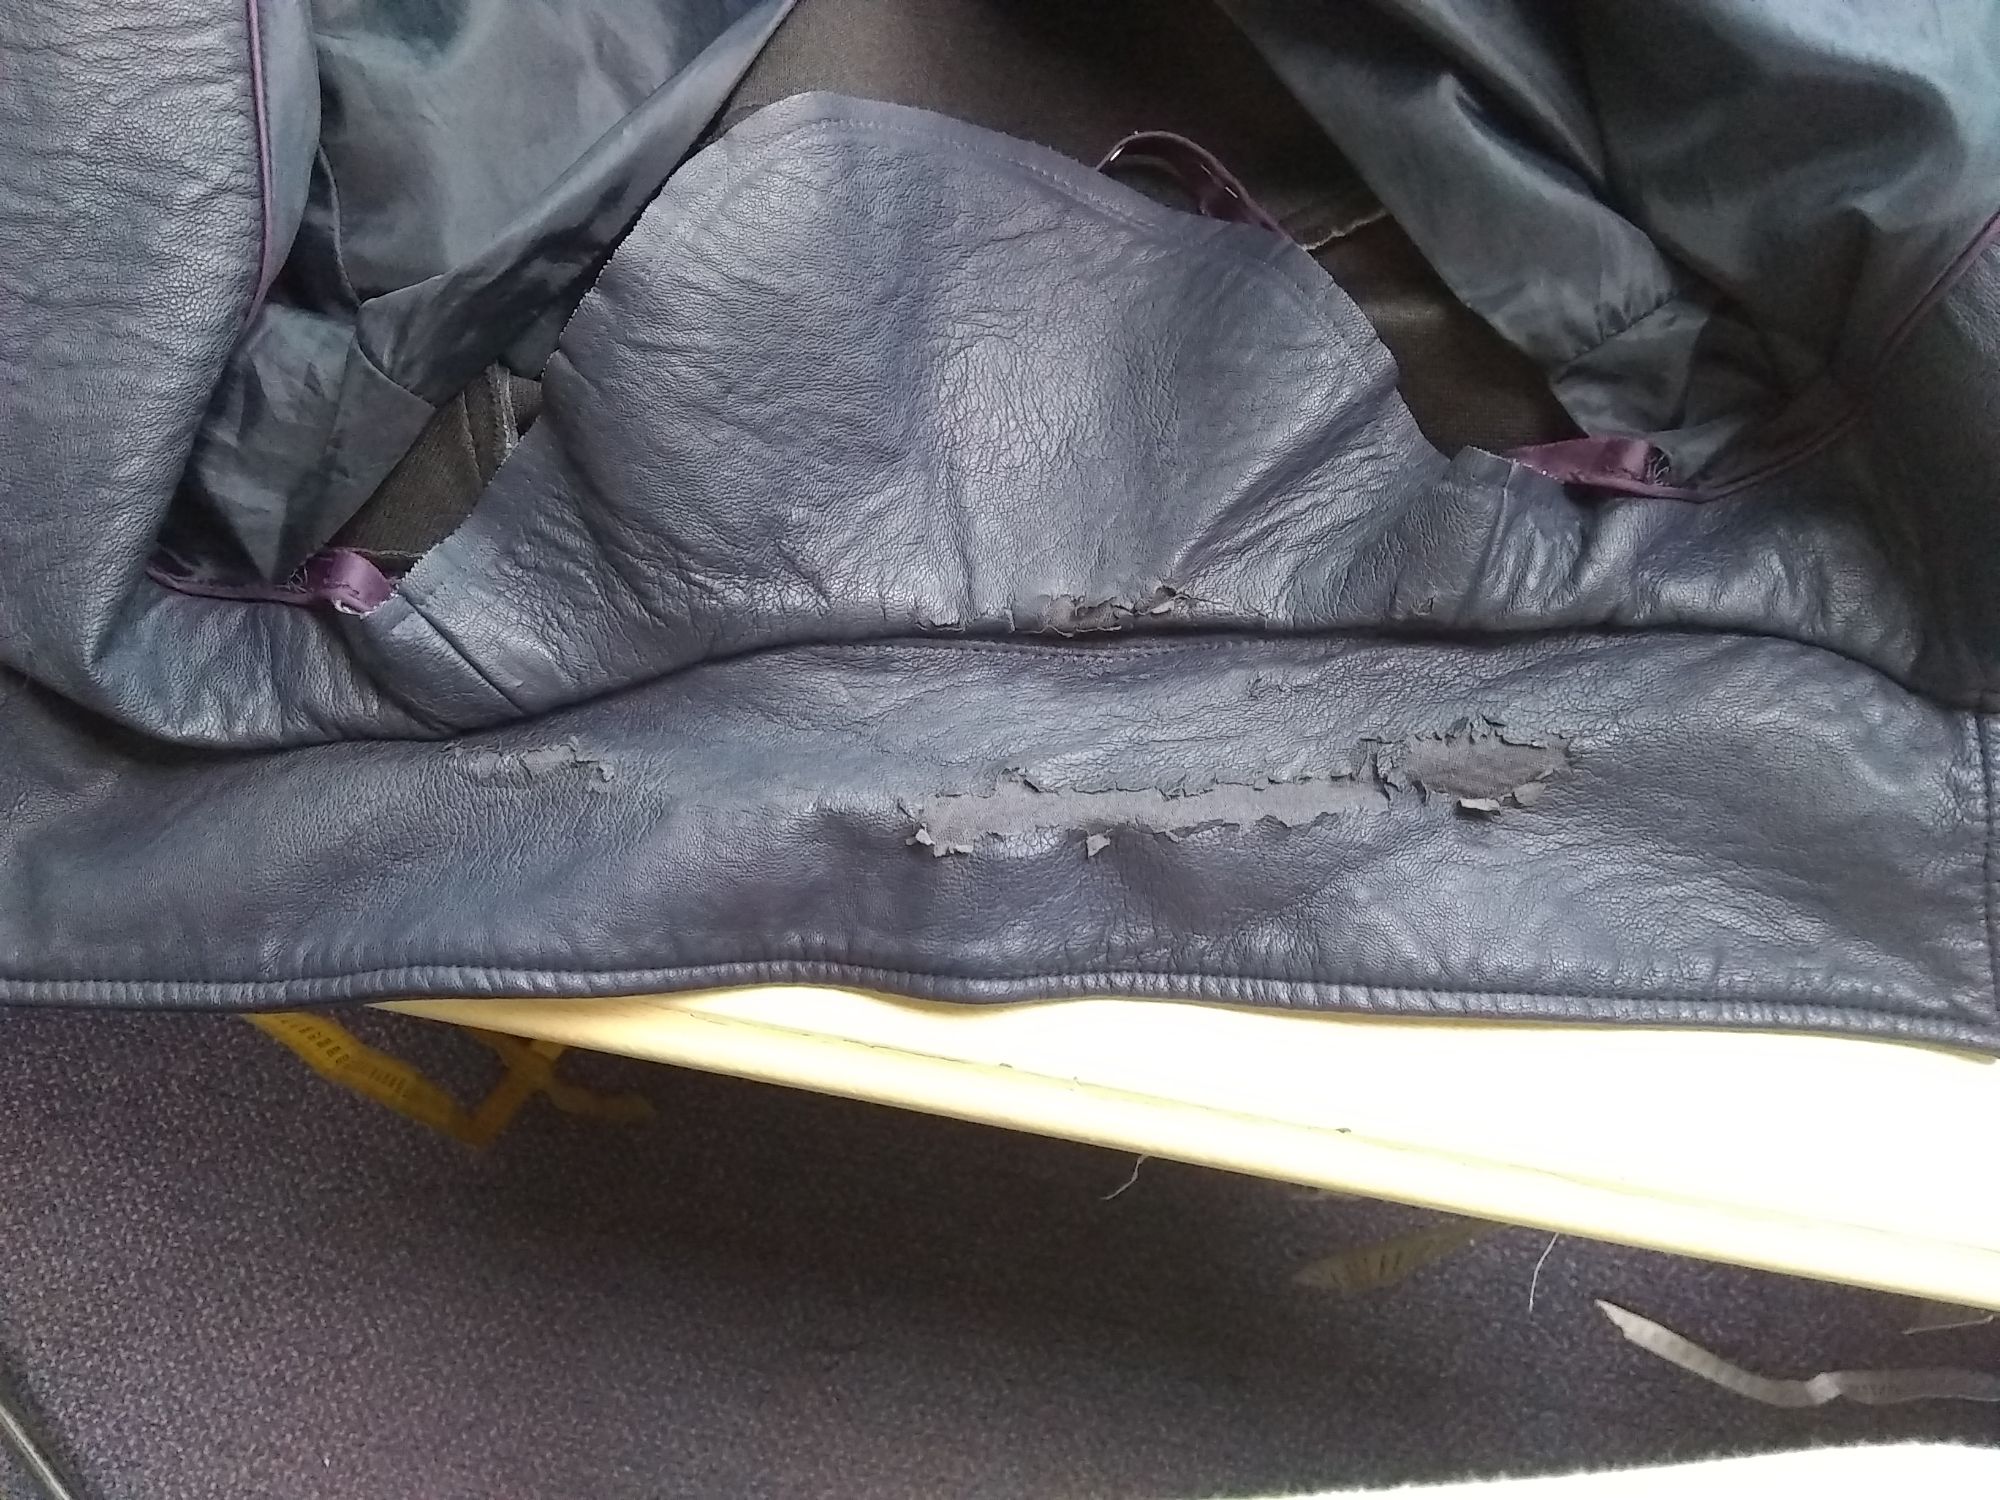
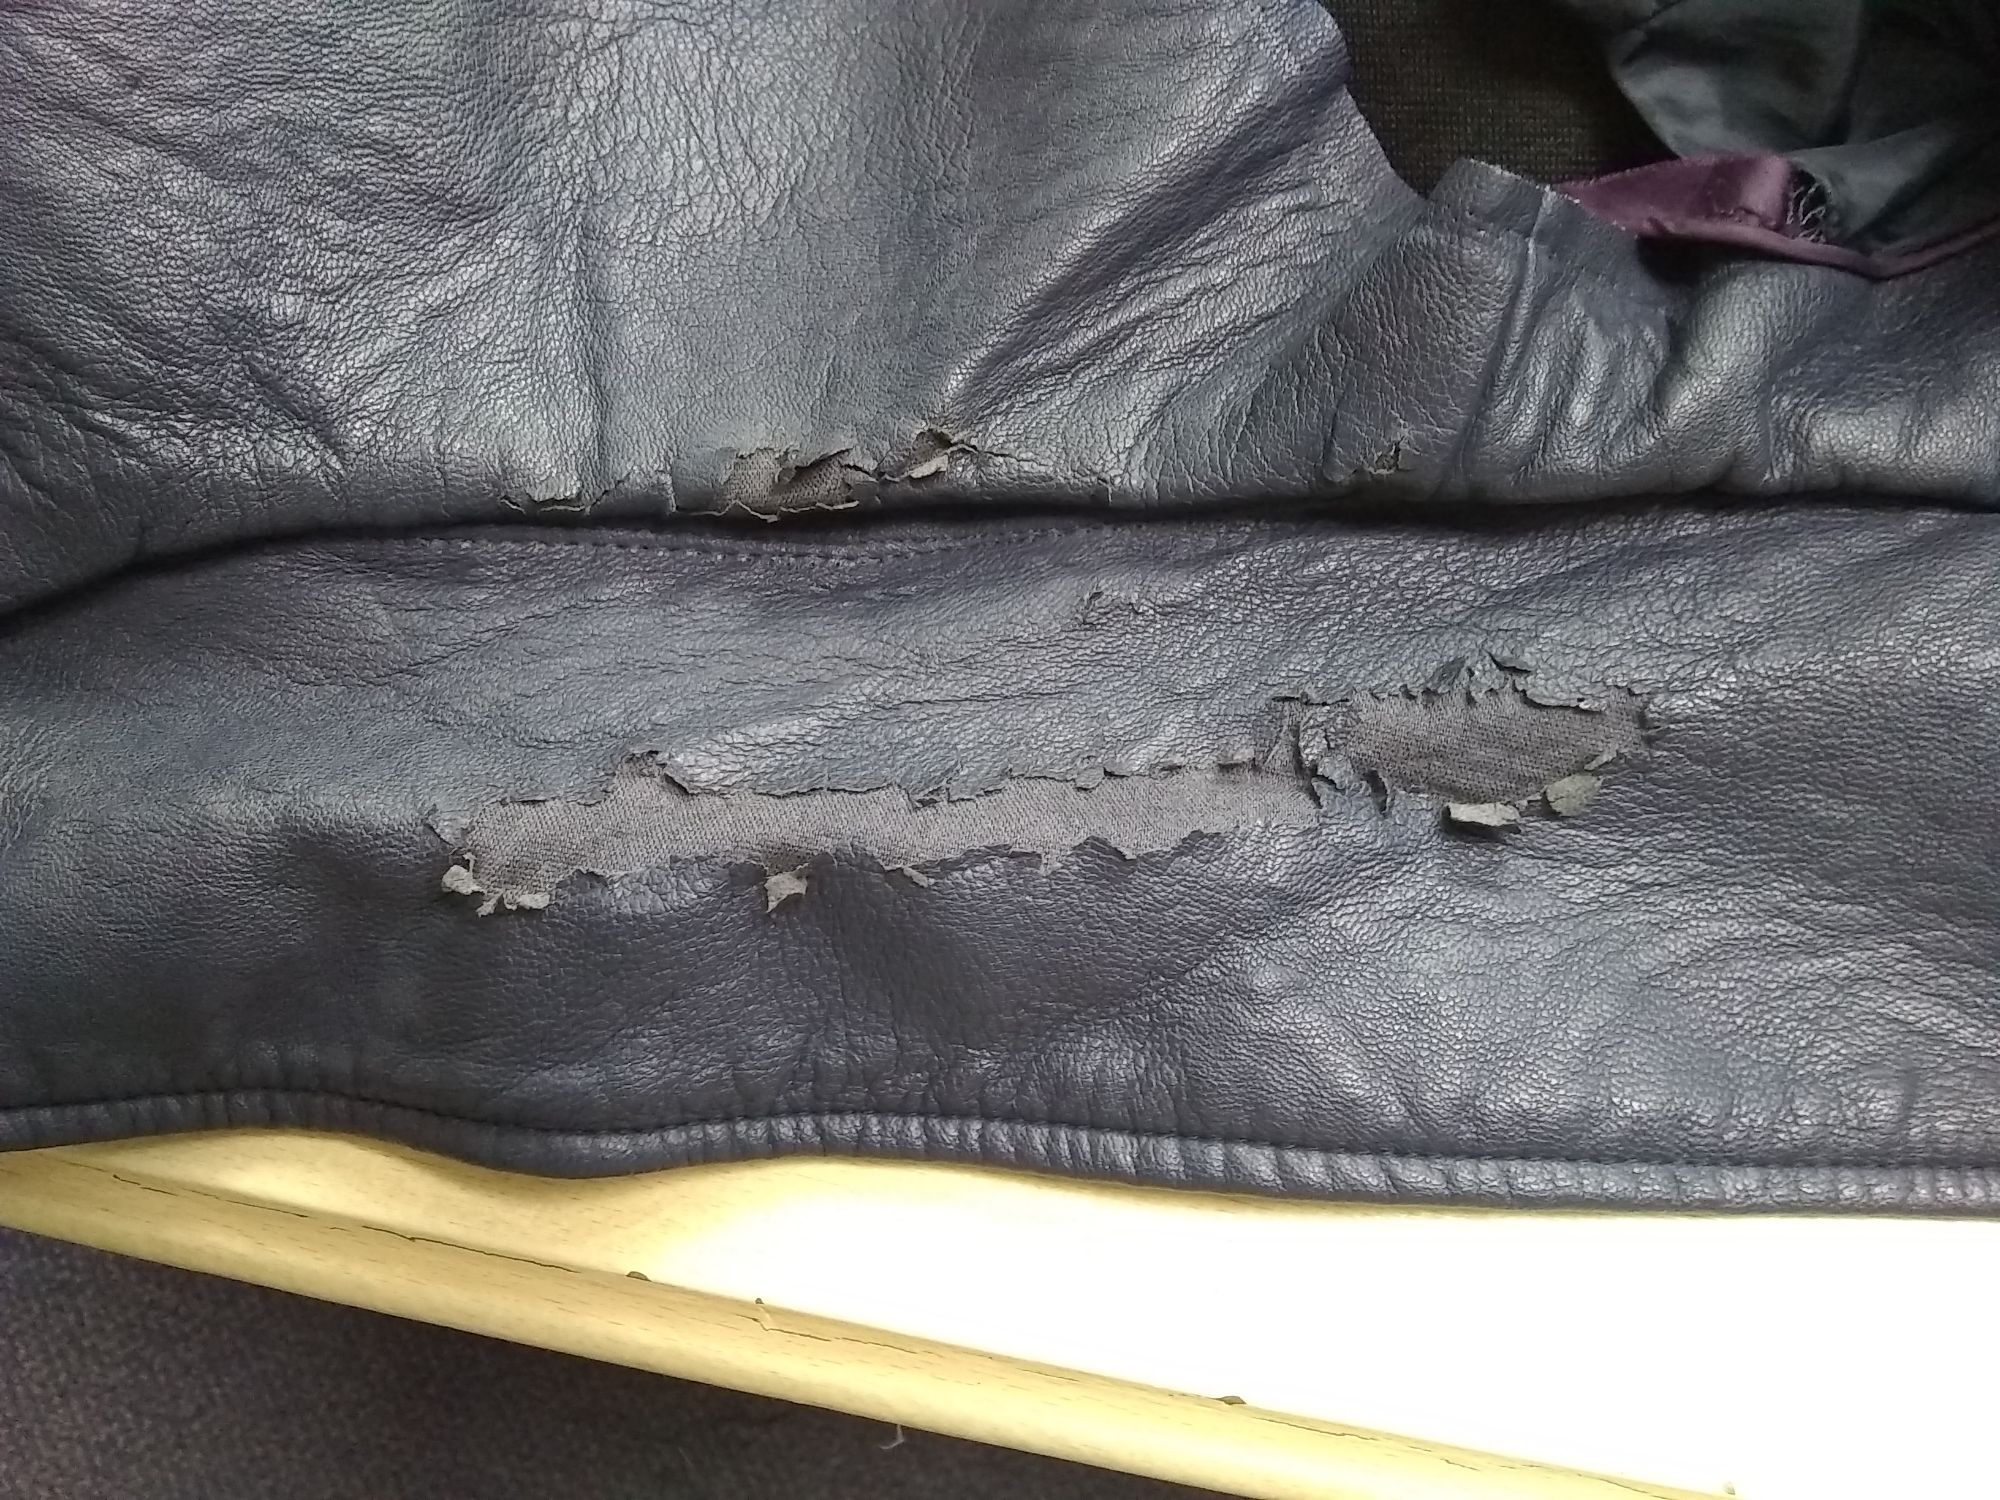
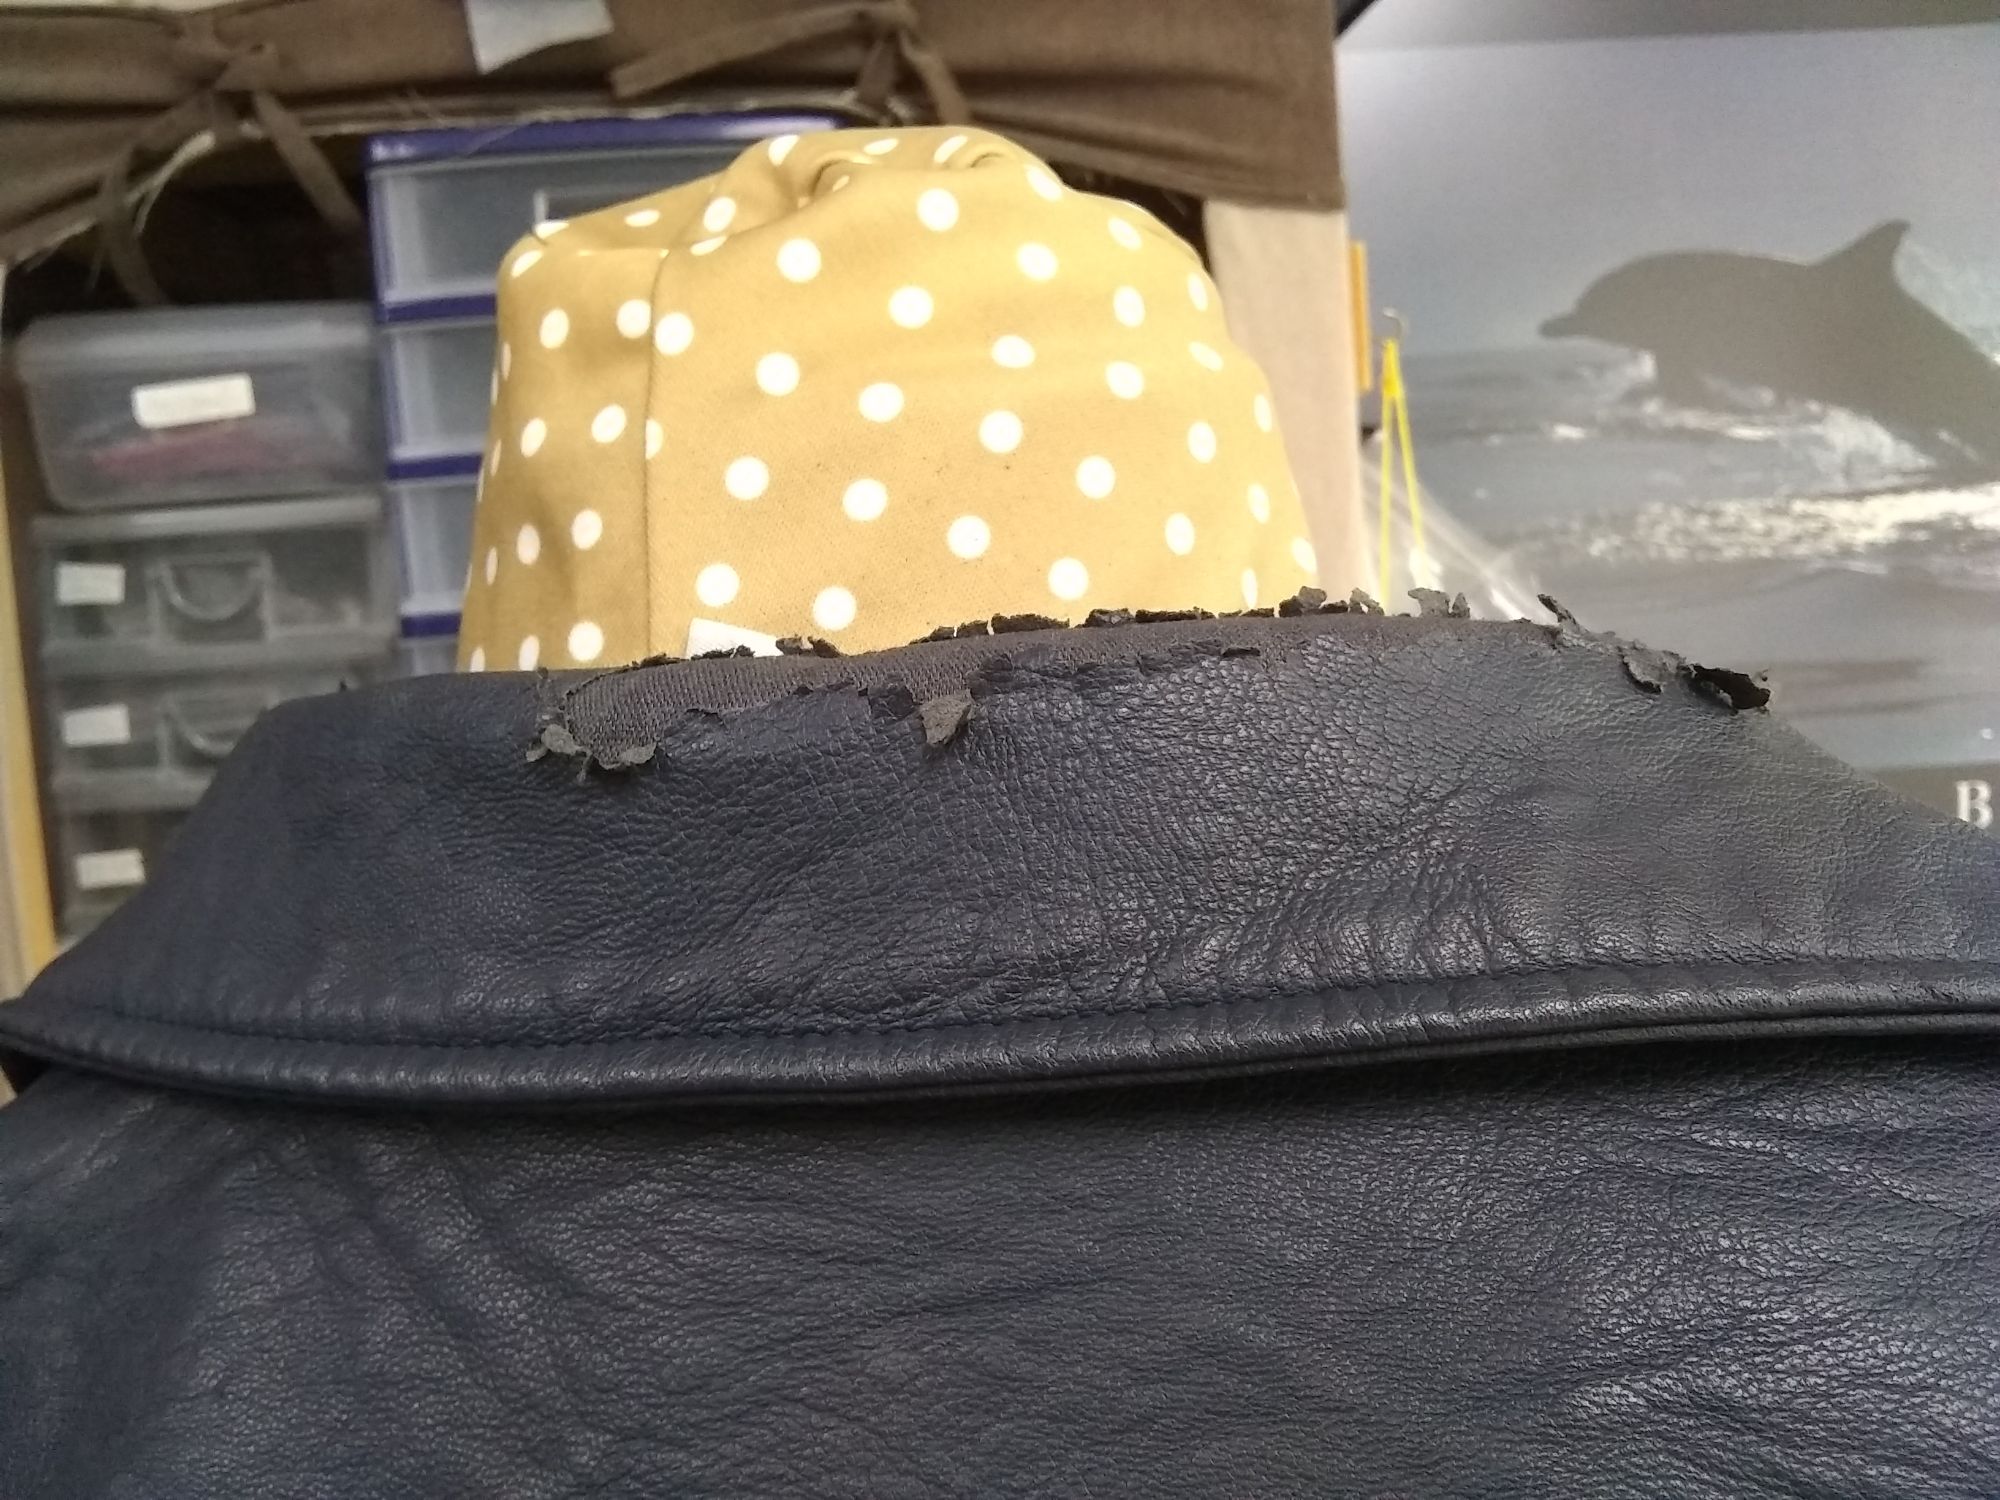
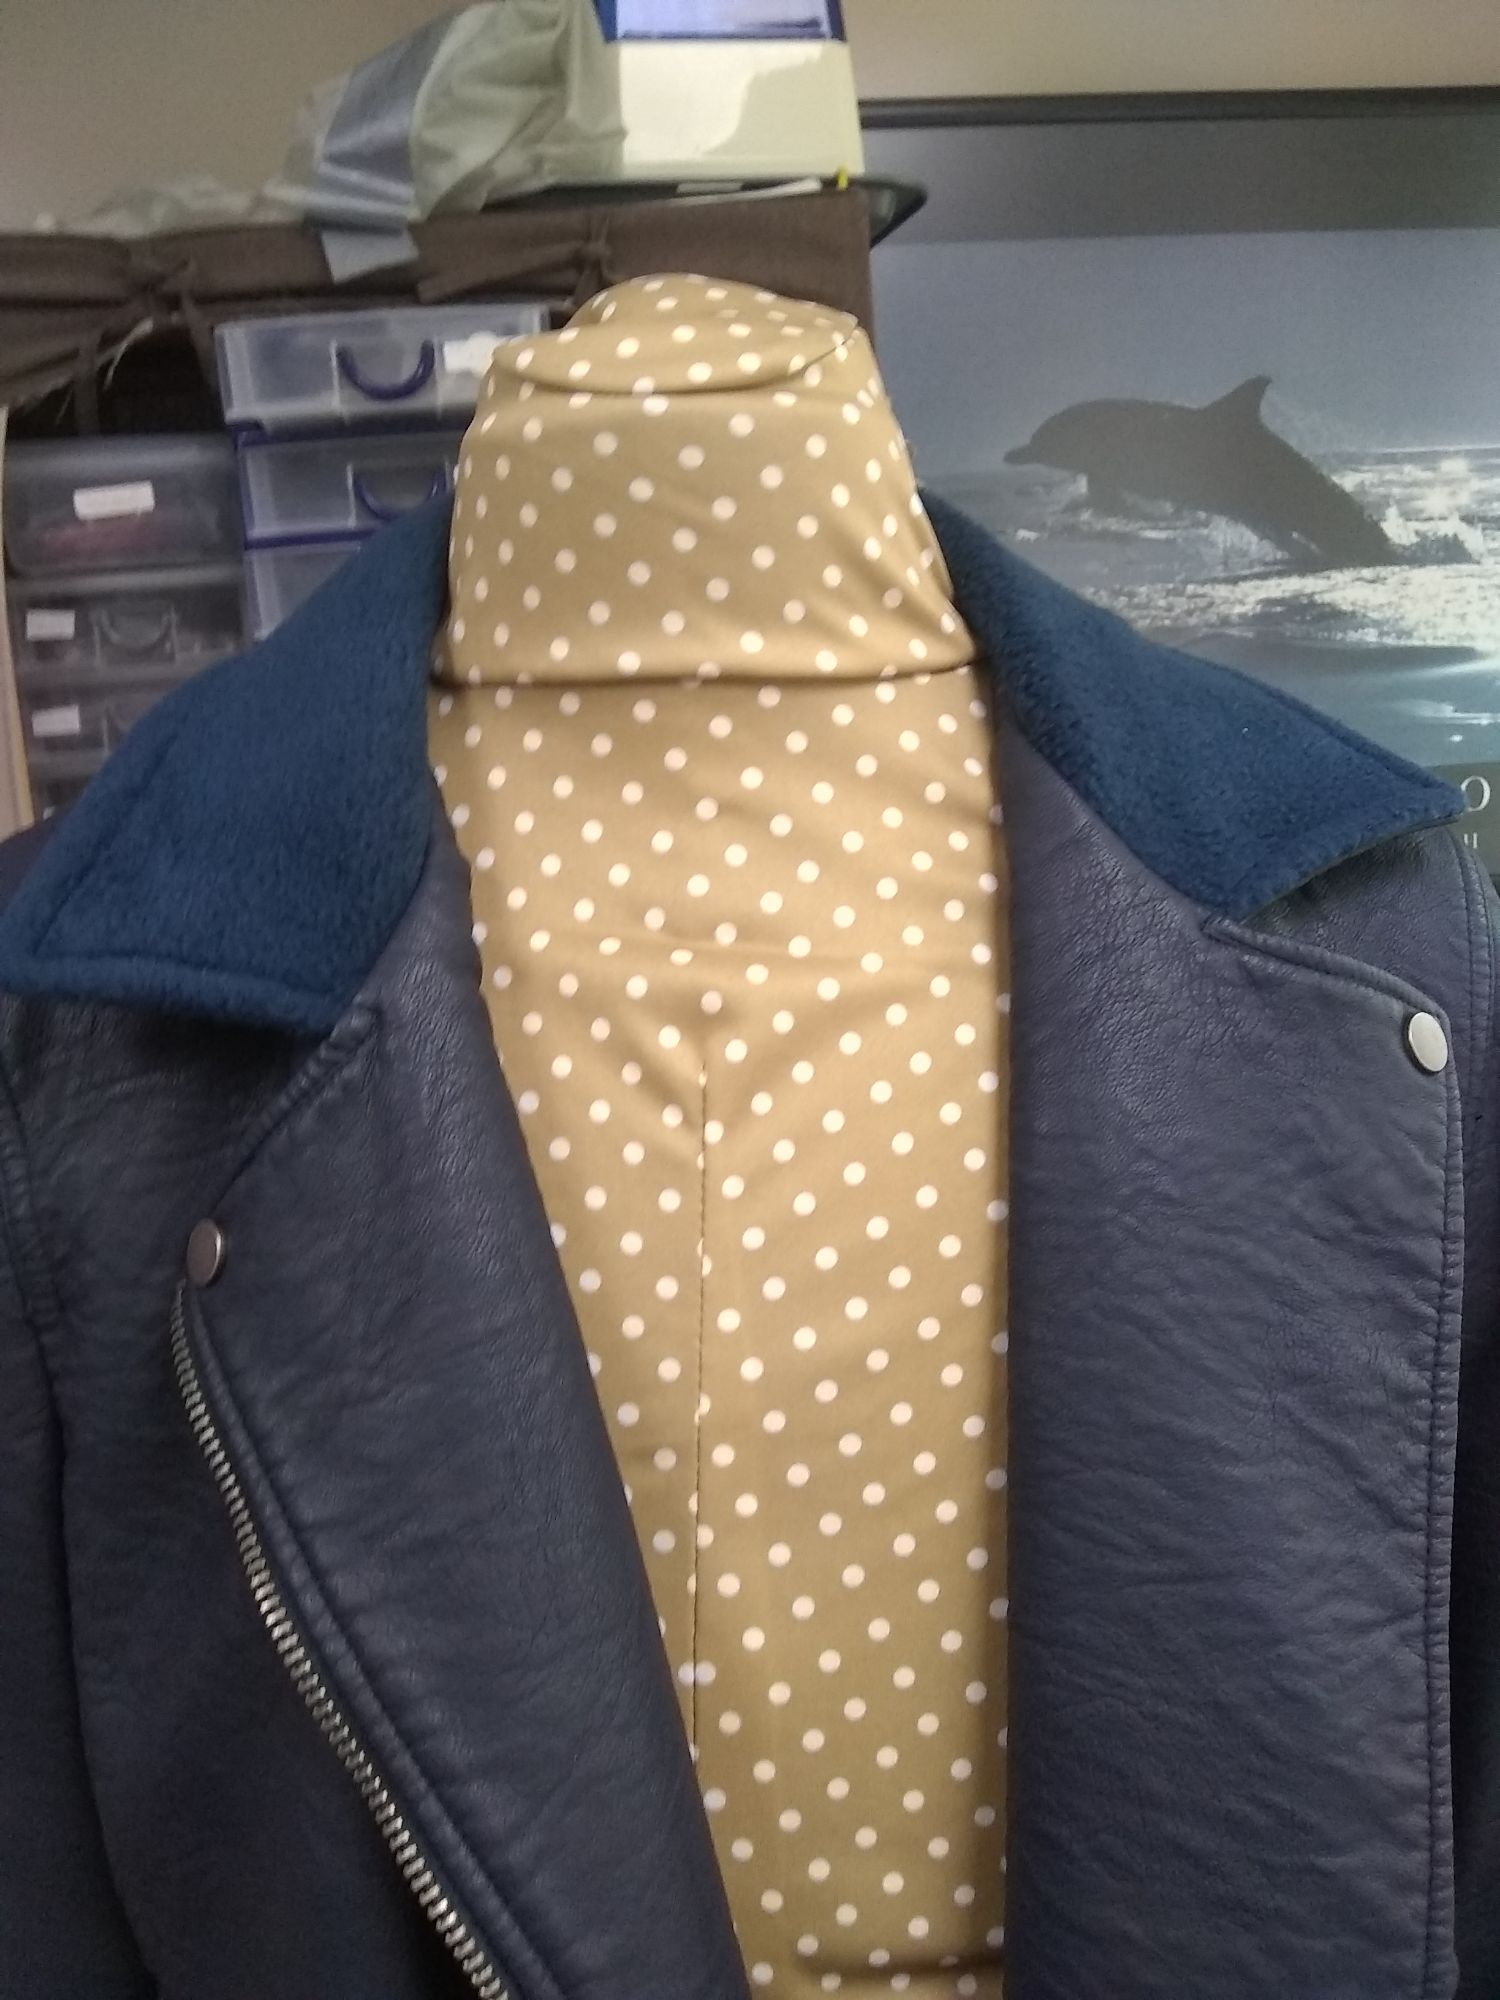
Replacing a worn jacket collar
The collar was showing wear and tear so I replaced it with a contrasting fabric to give it a new lease of life.


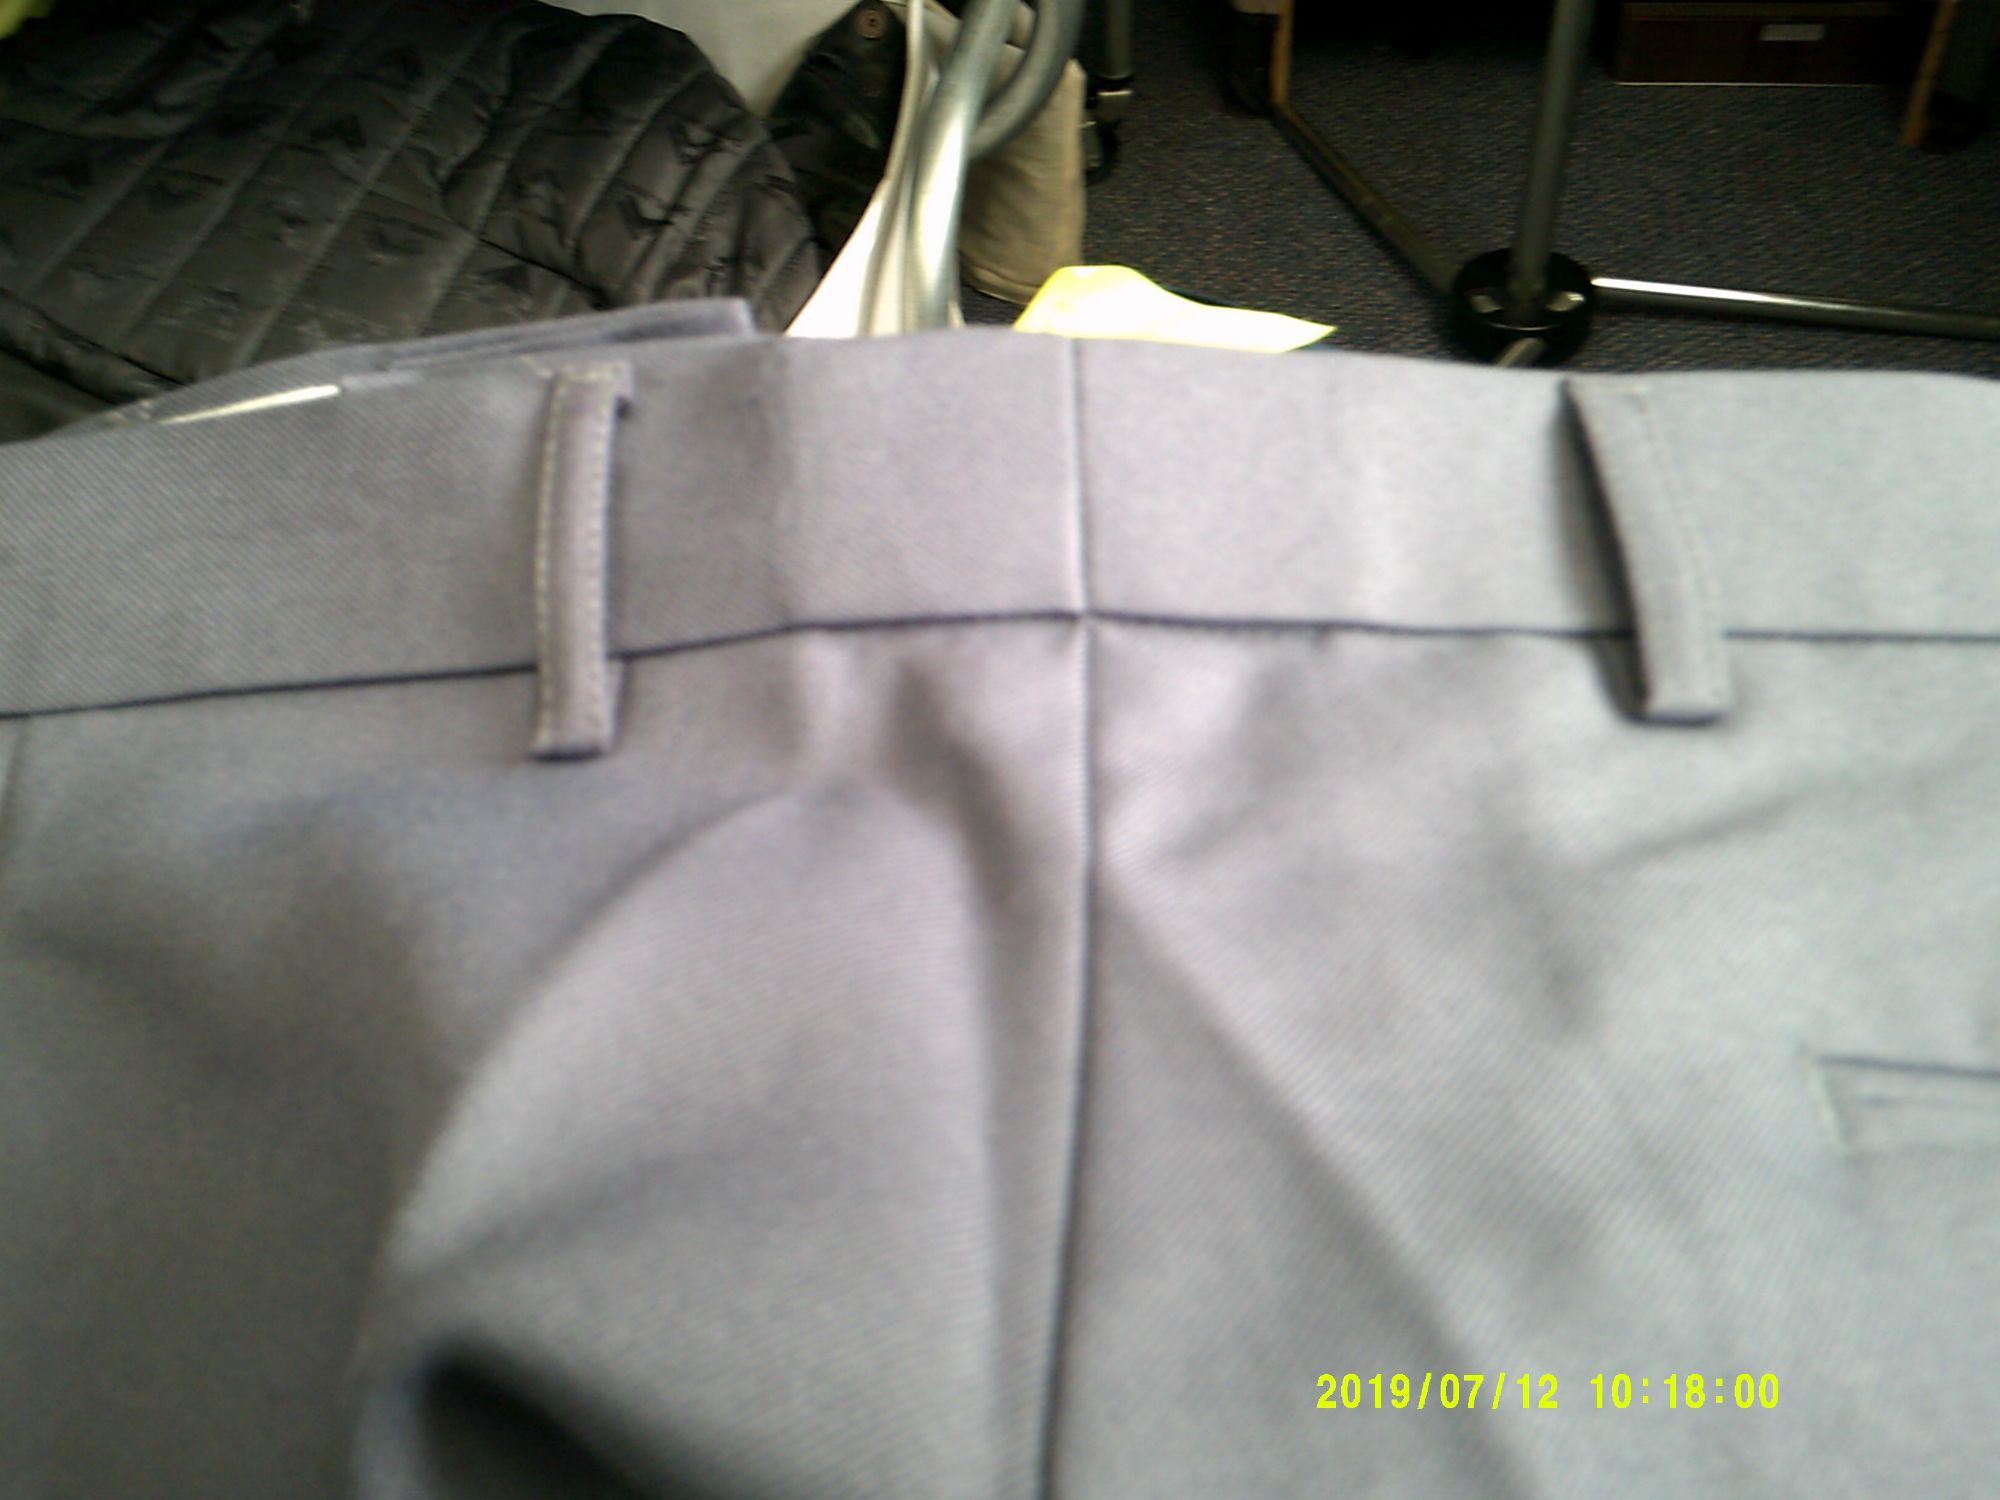
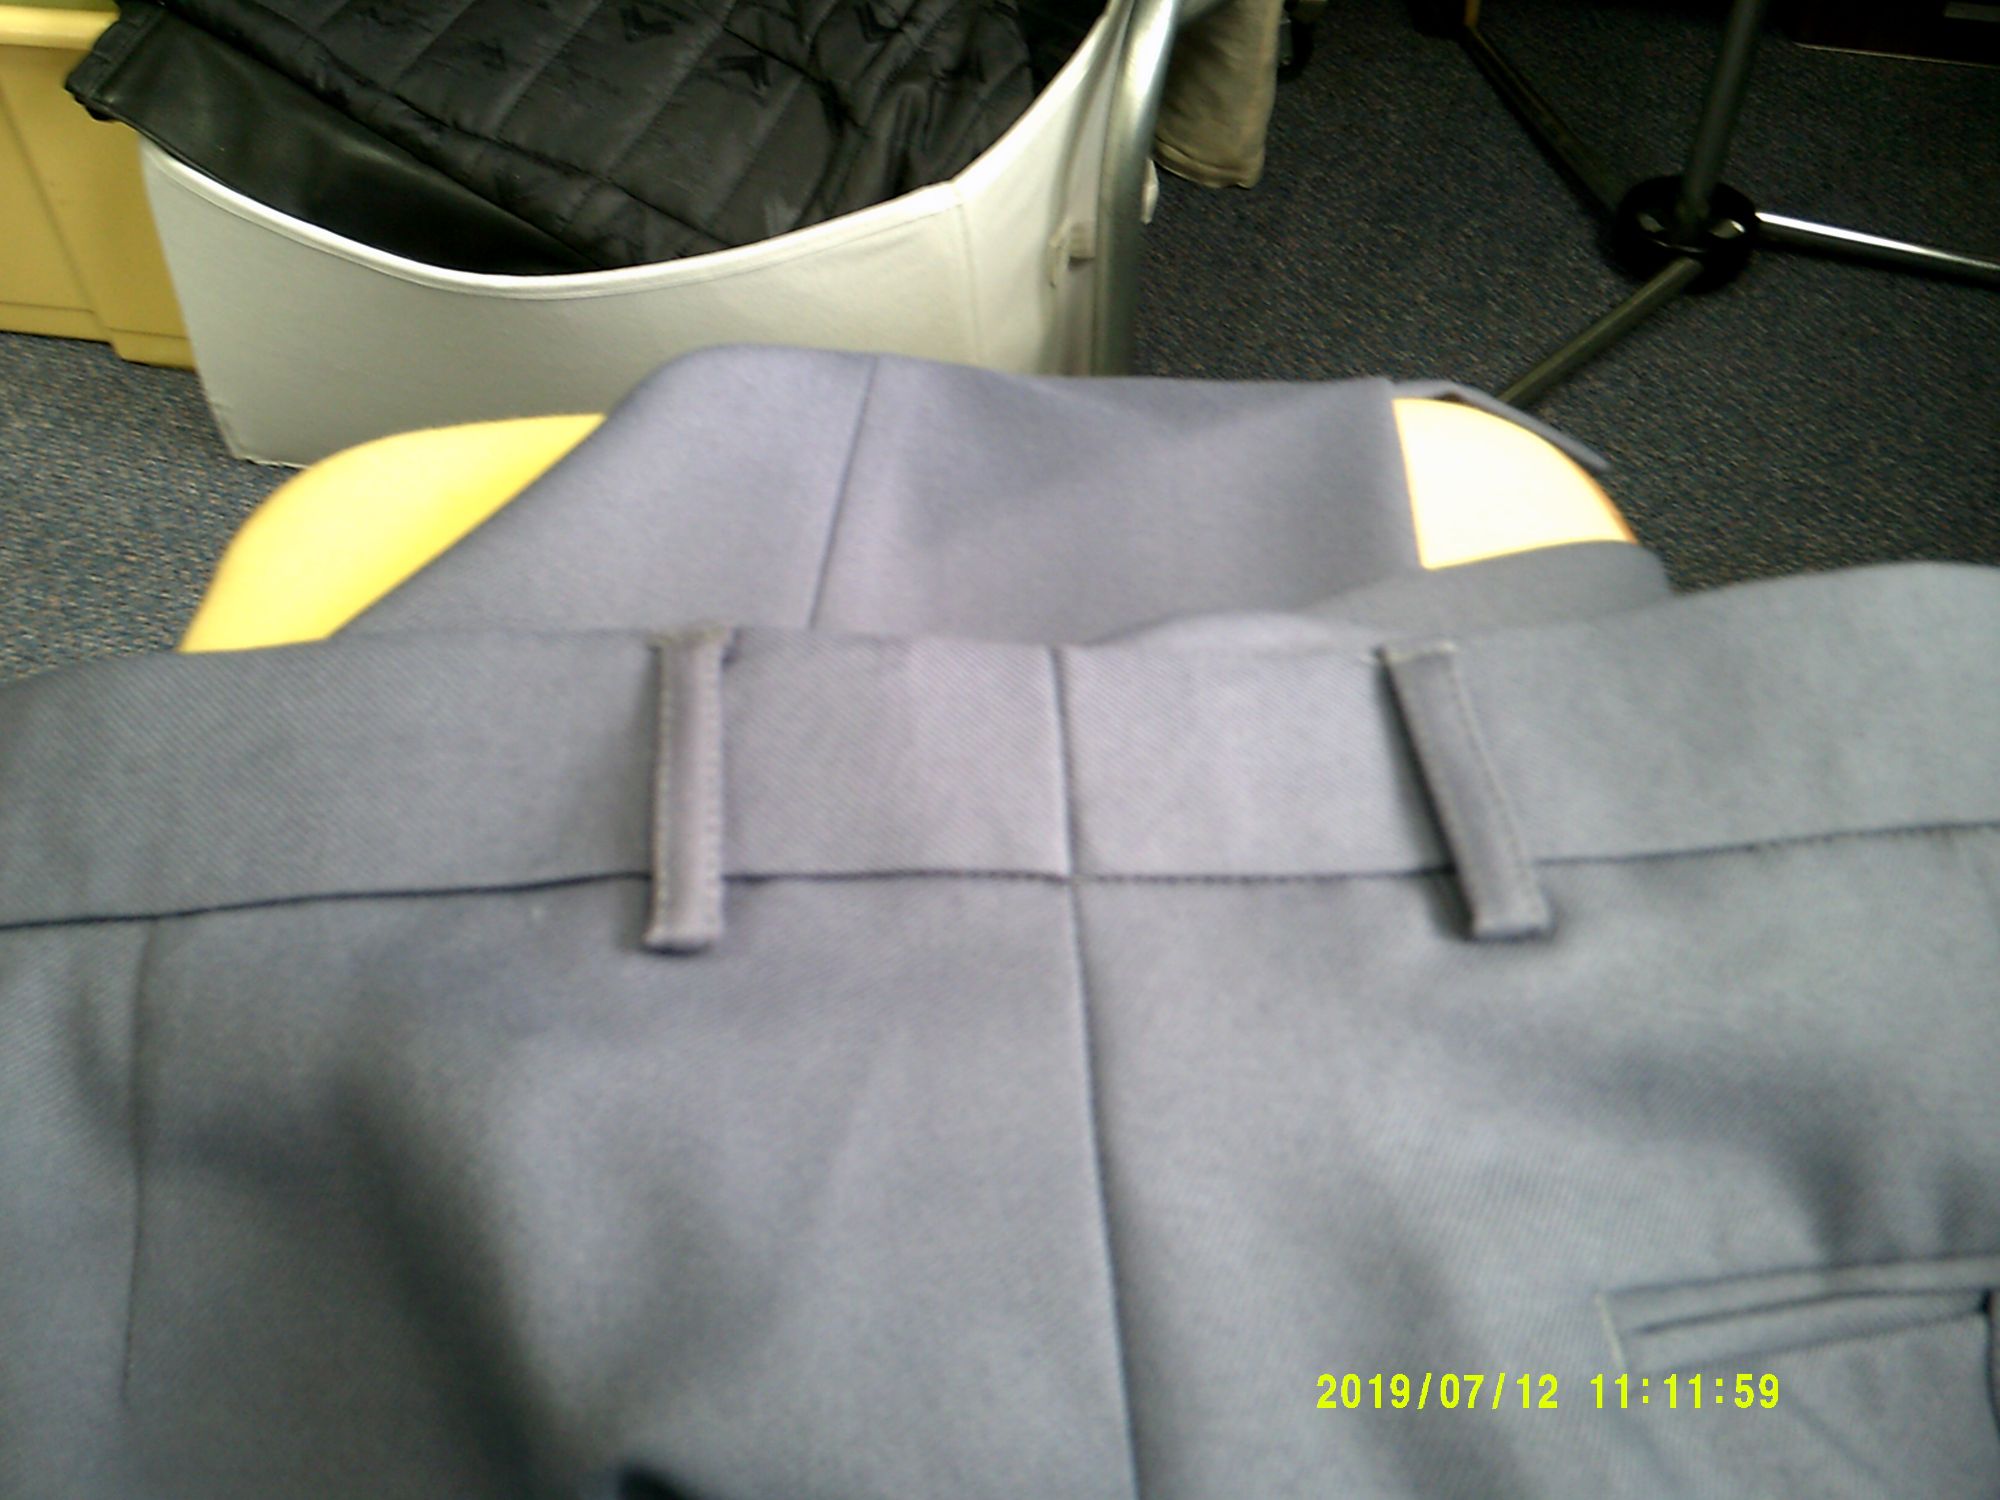
Reduce Trouser waist
When reducing the waist on trousers the only outward effect is that the belt loops are closers together. I undo the waistband on the inside, and the top of the belt loops, fold the trousers down the seam and press them flat, Put pins in crossways to keep the seams aligned, double stitch down the seat seam, Press open, overlock any excess fabric, Restitch the waistband and restitch the top of the belt loops
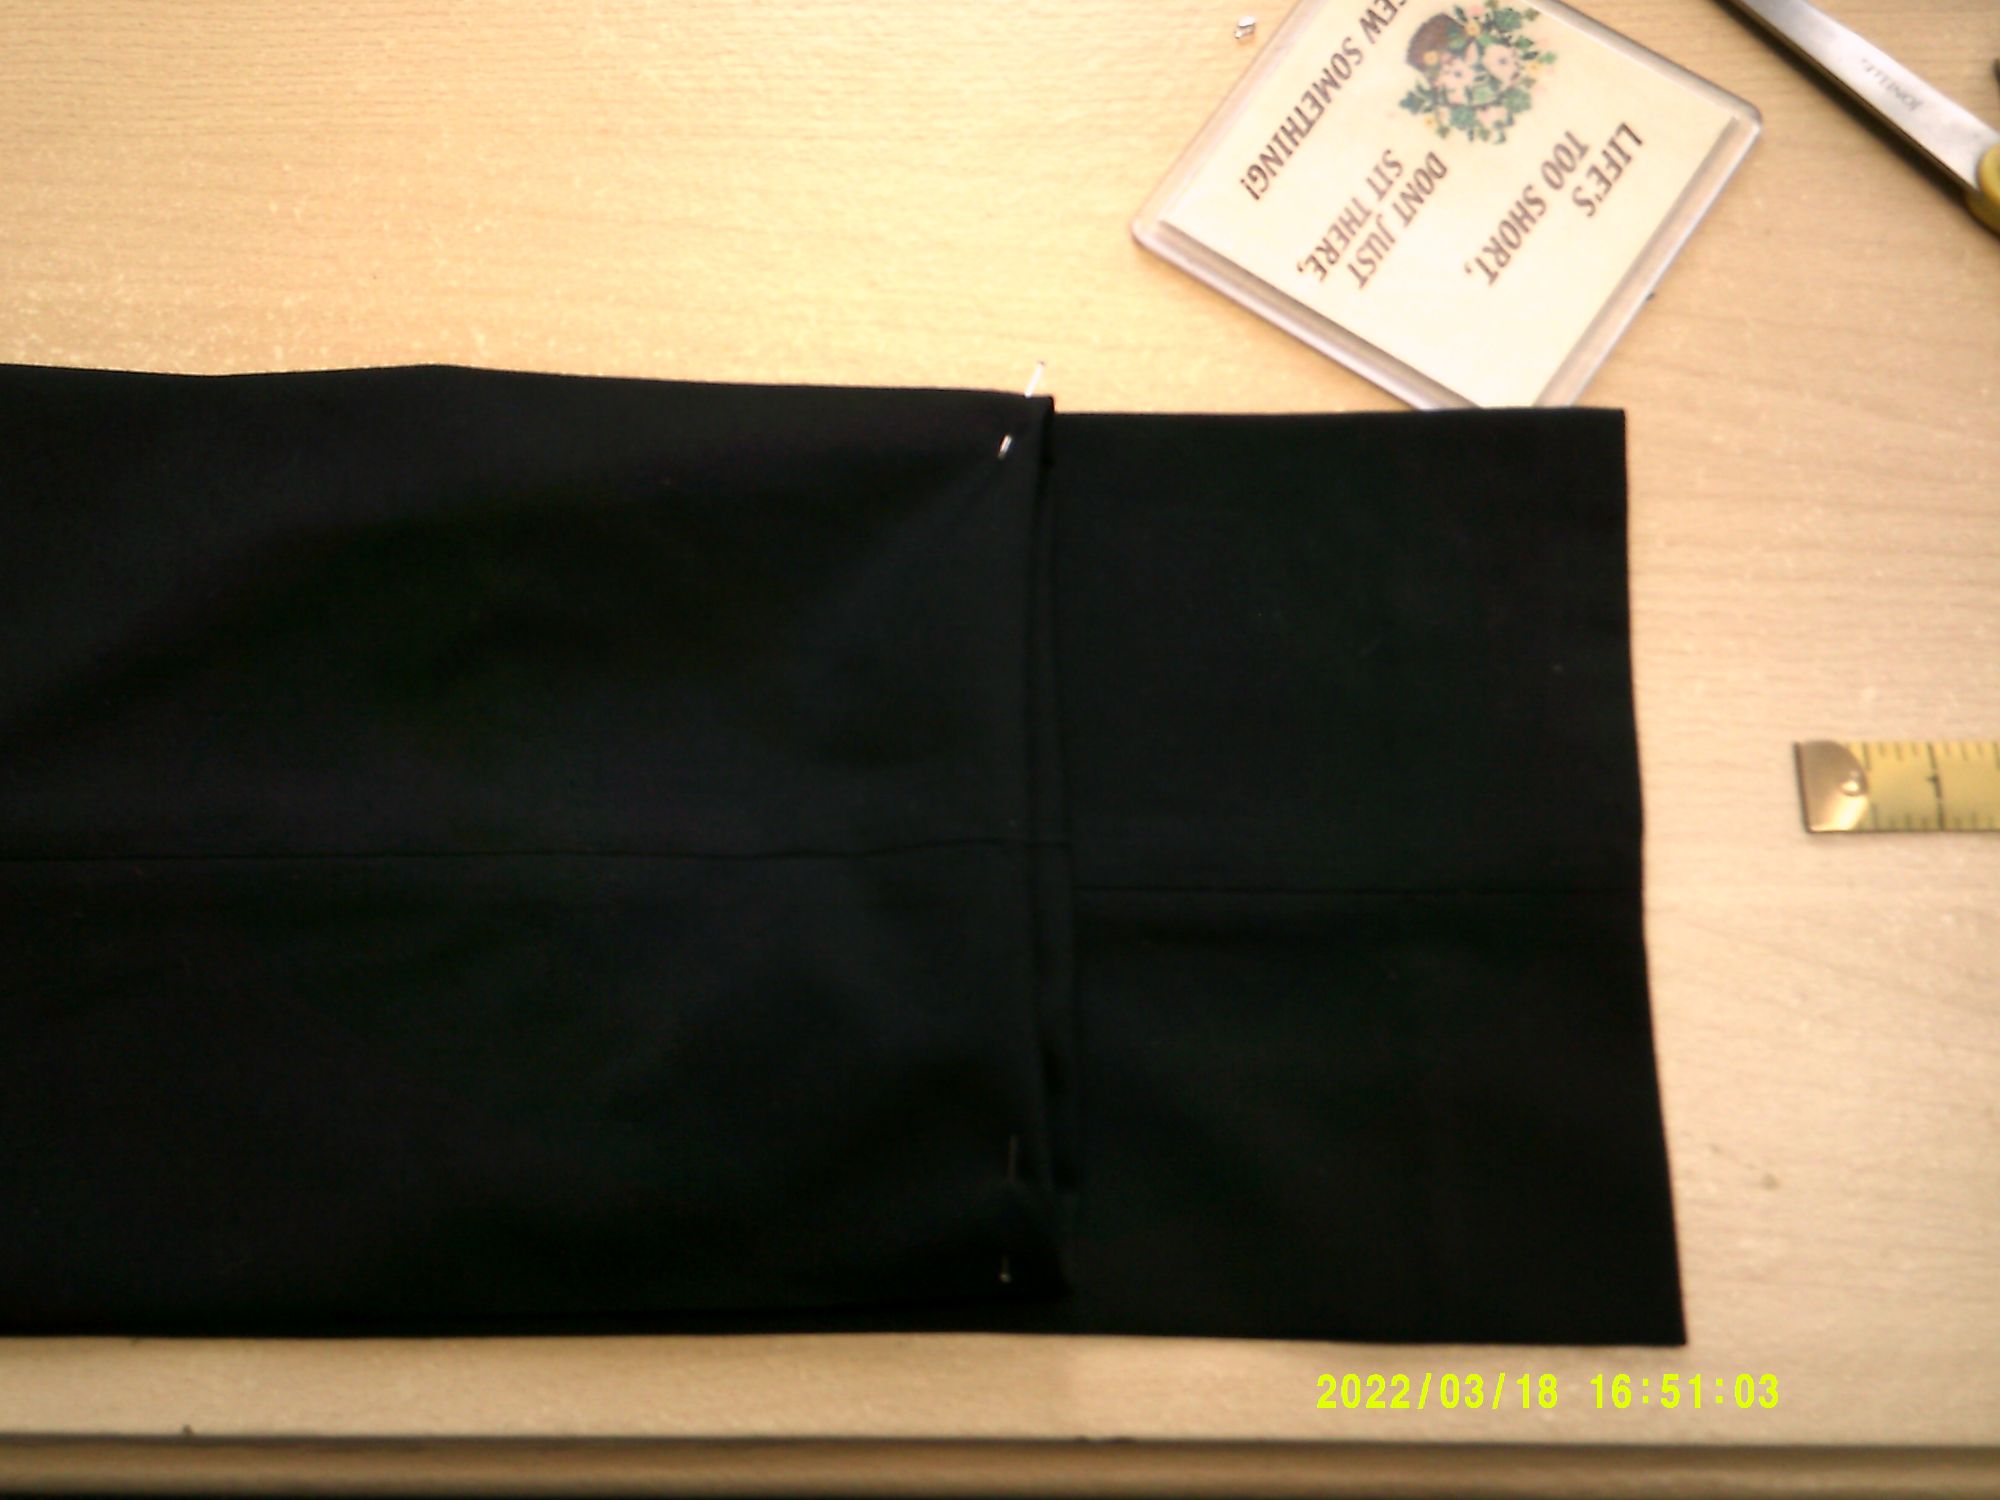
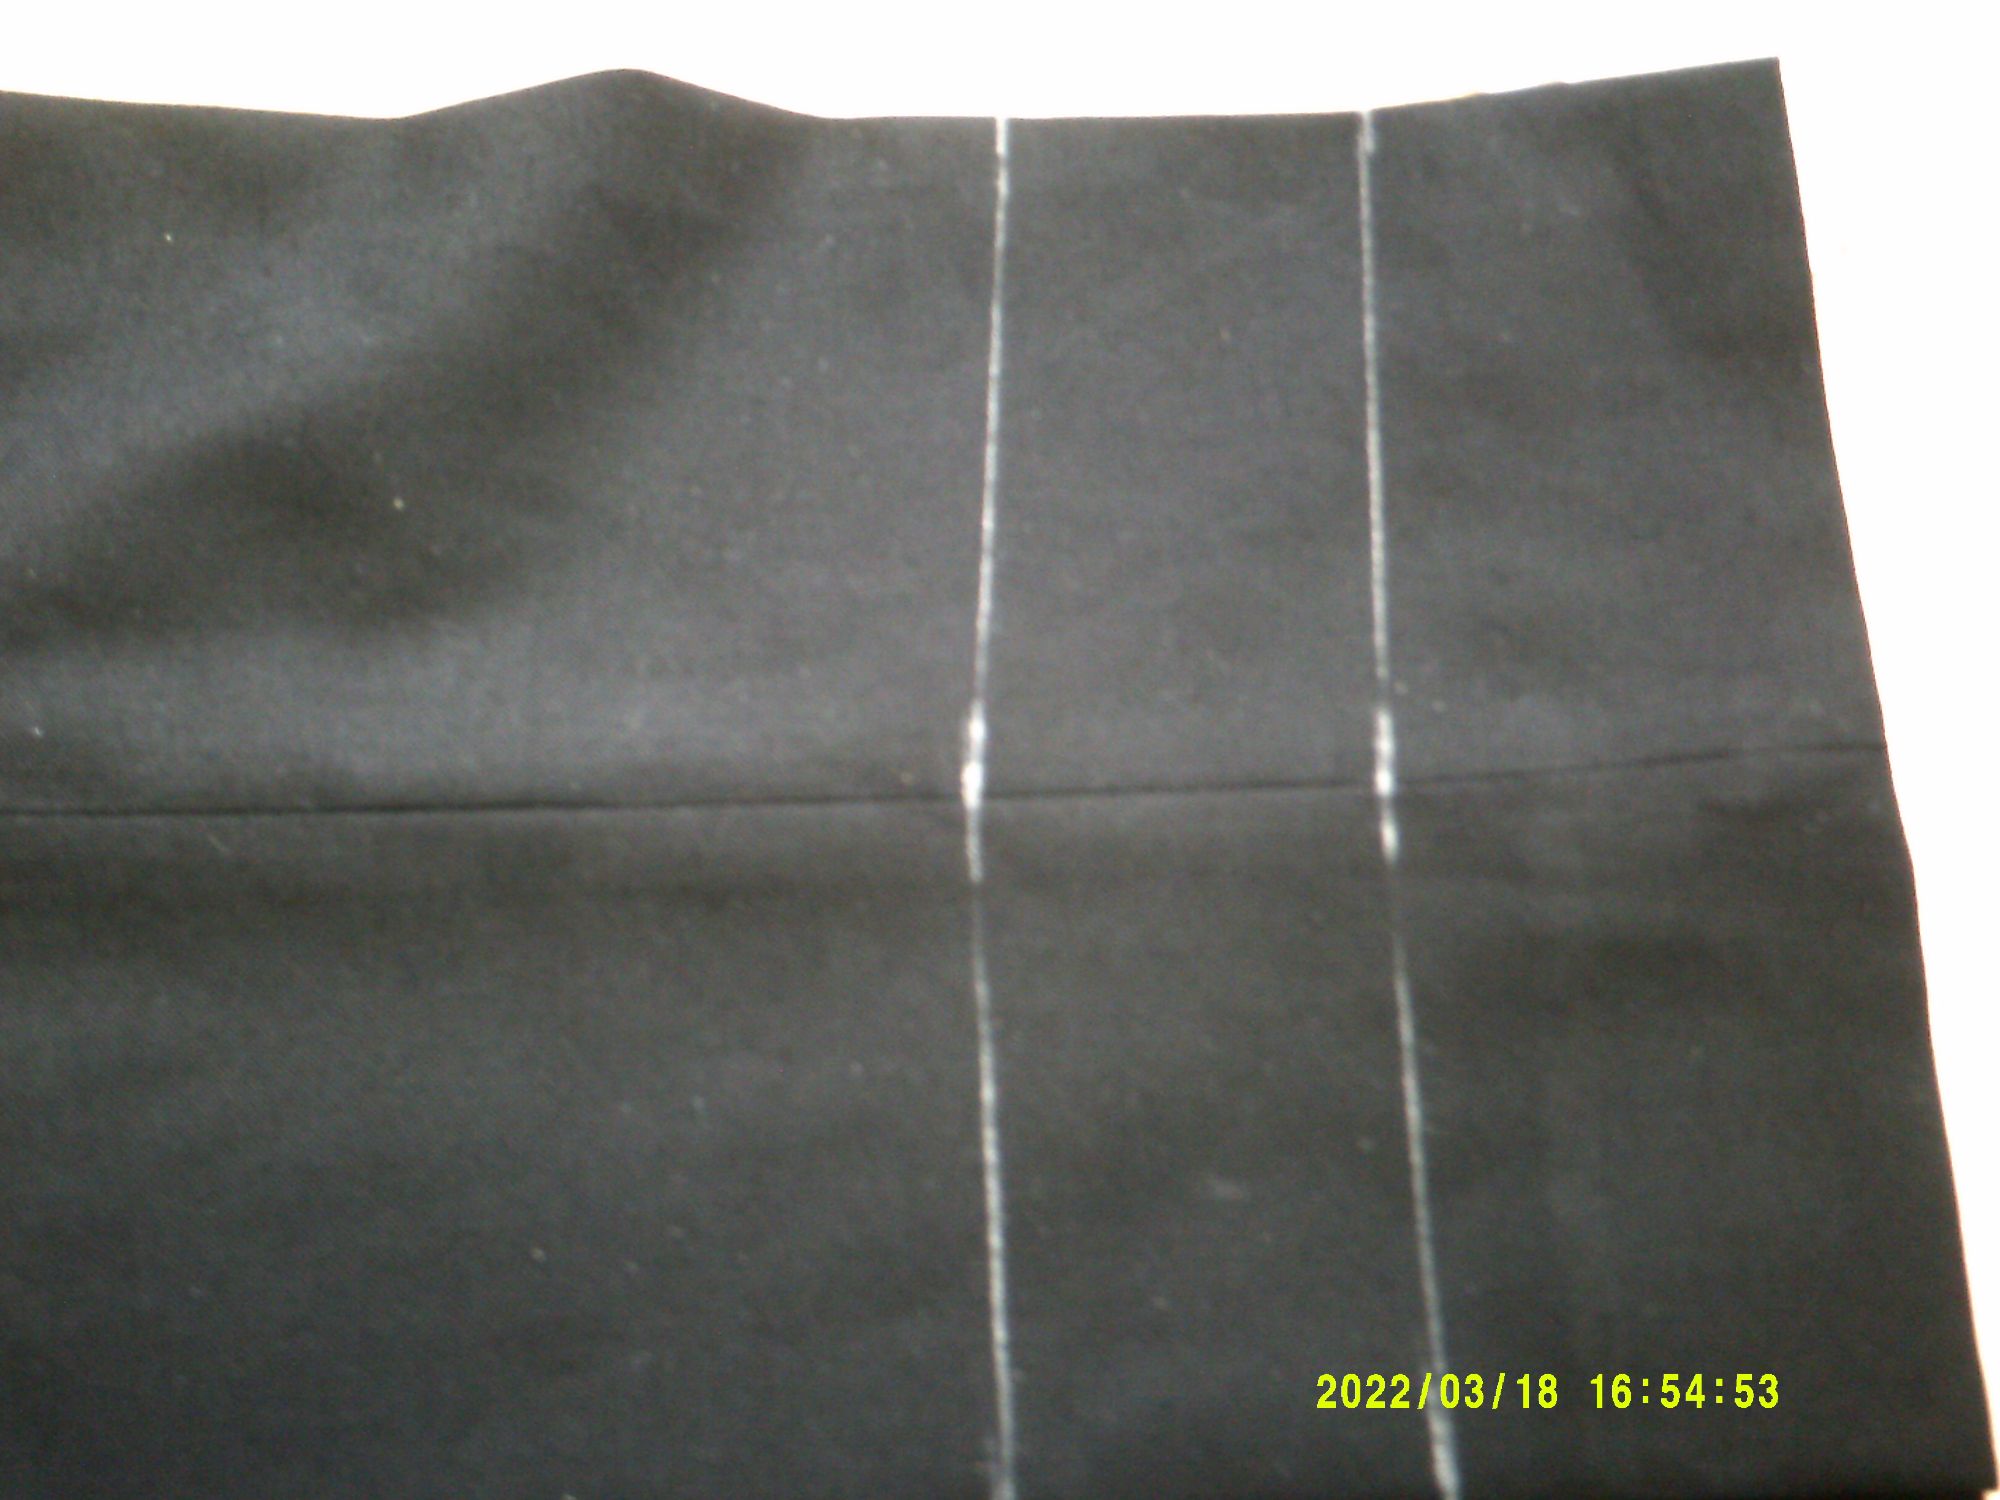
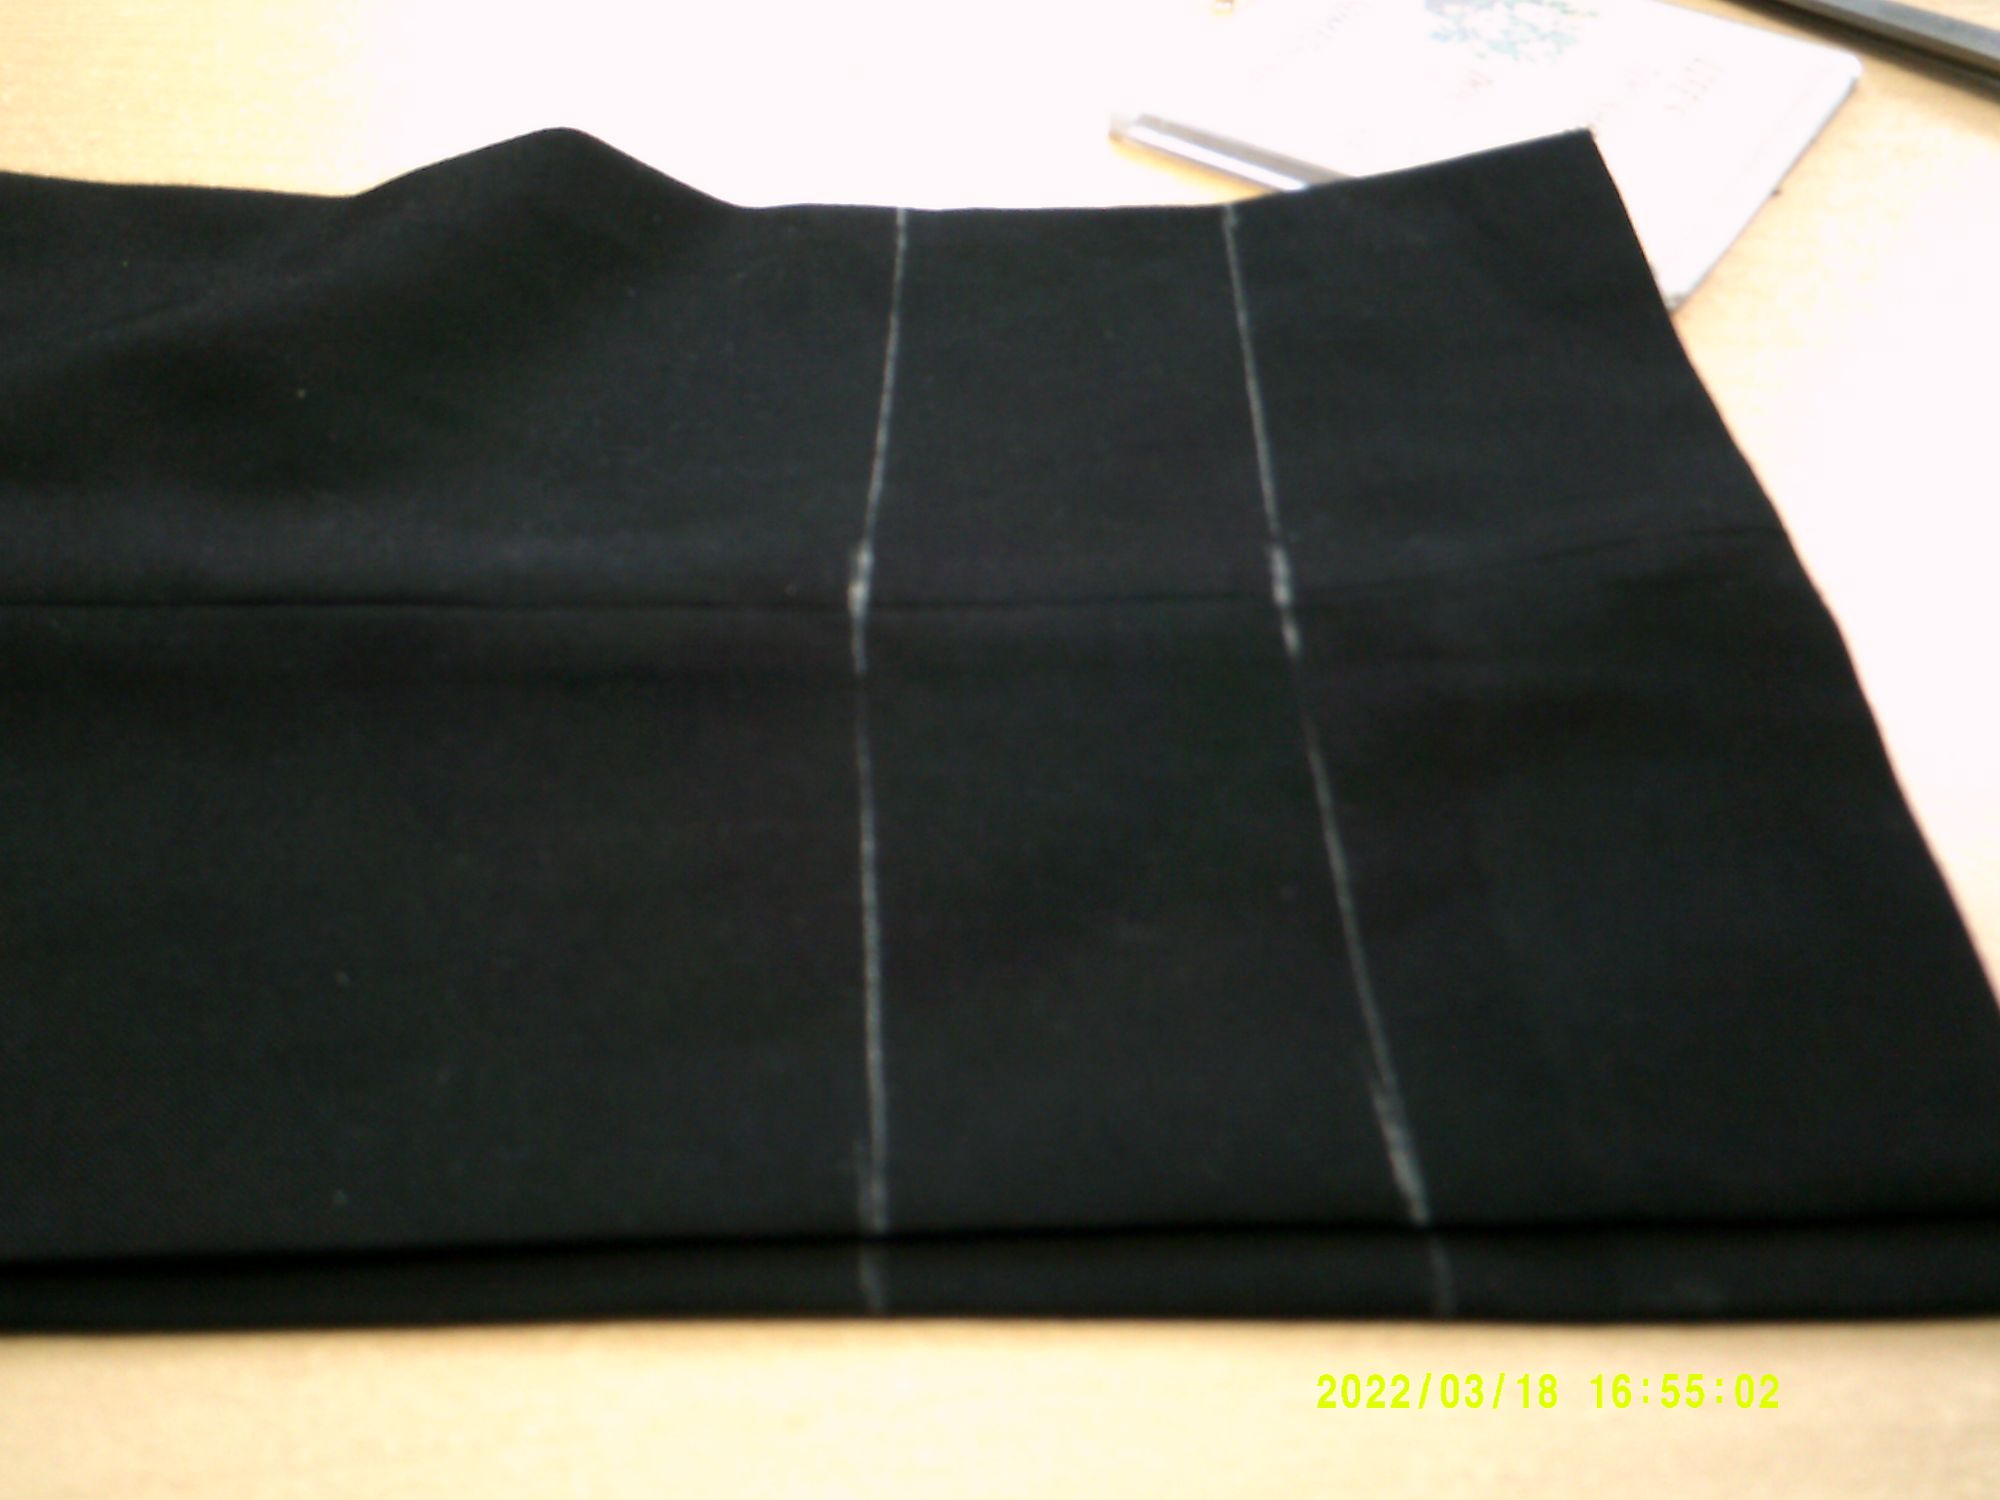
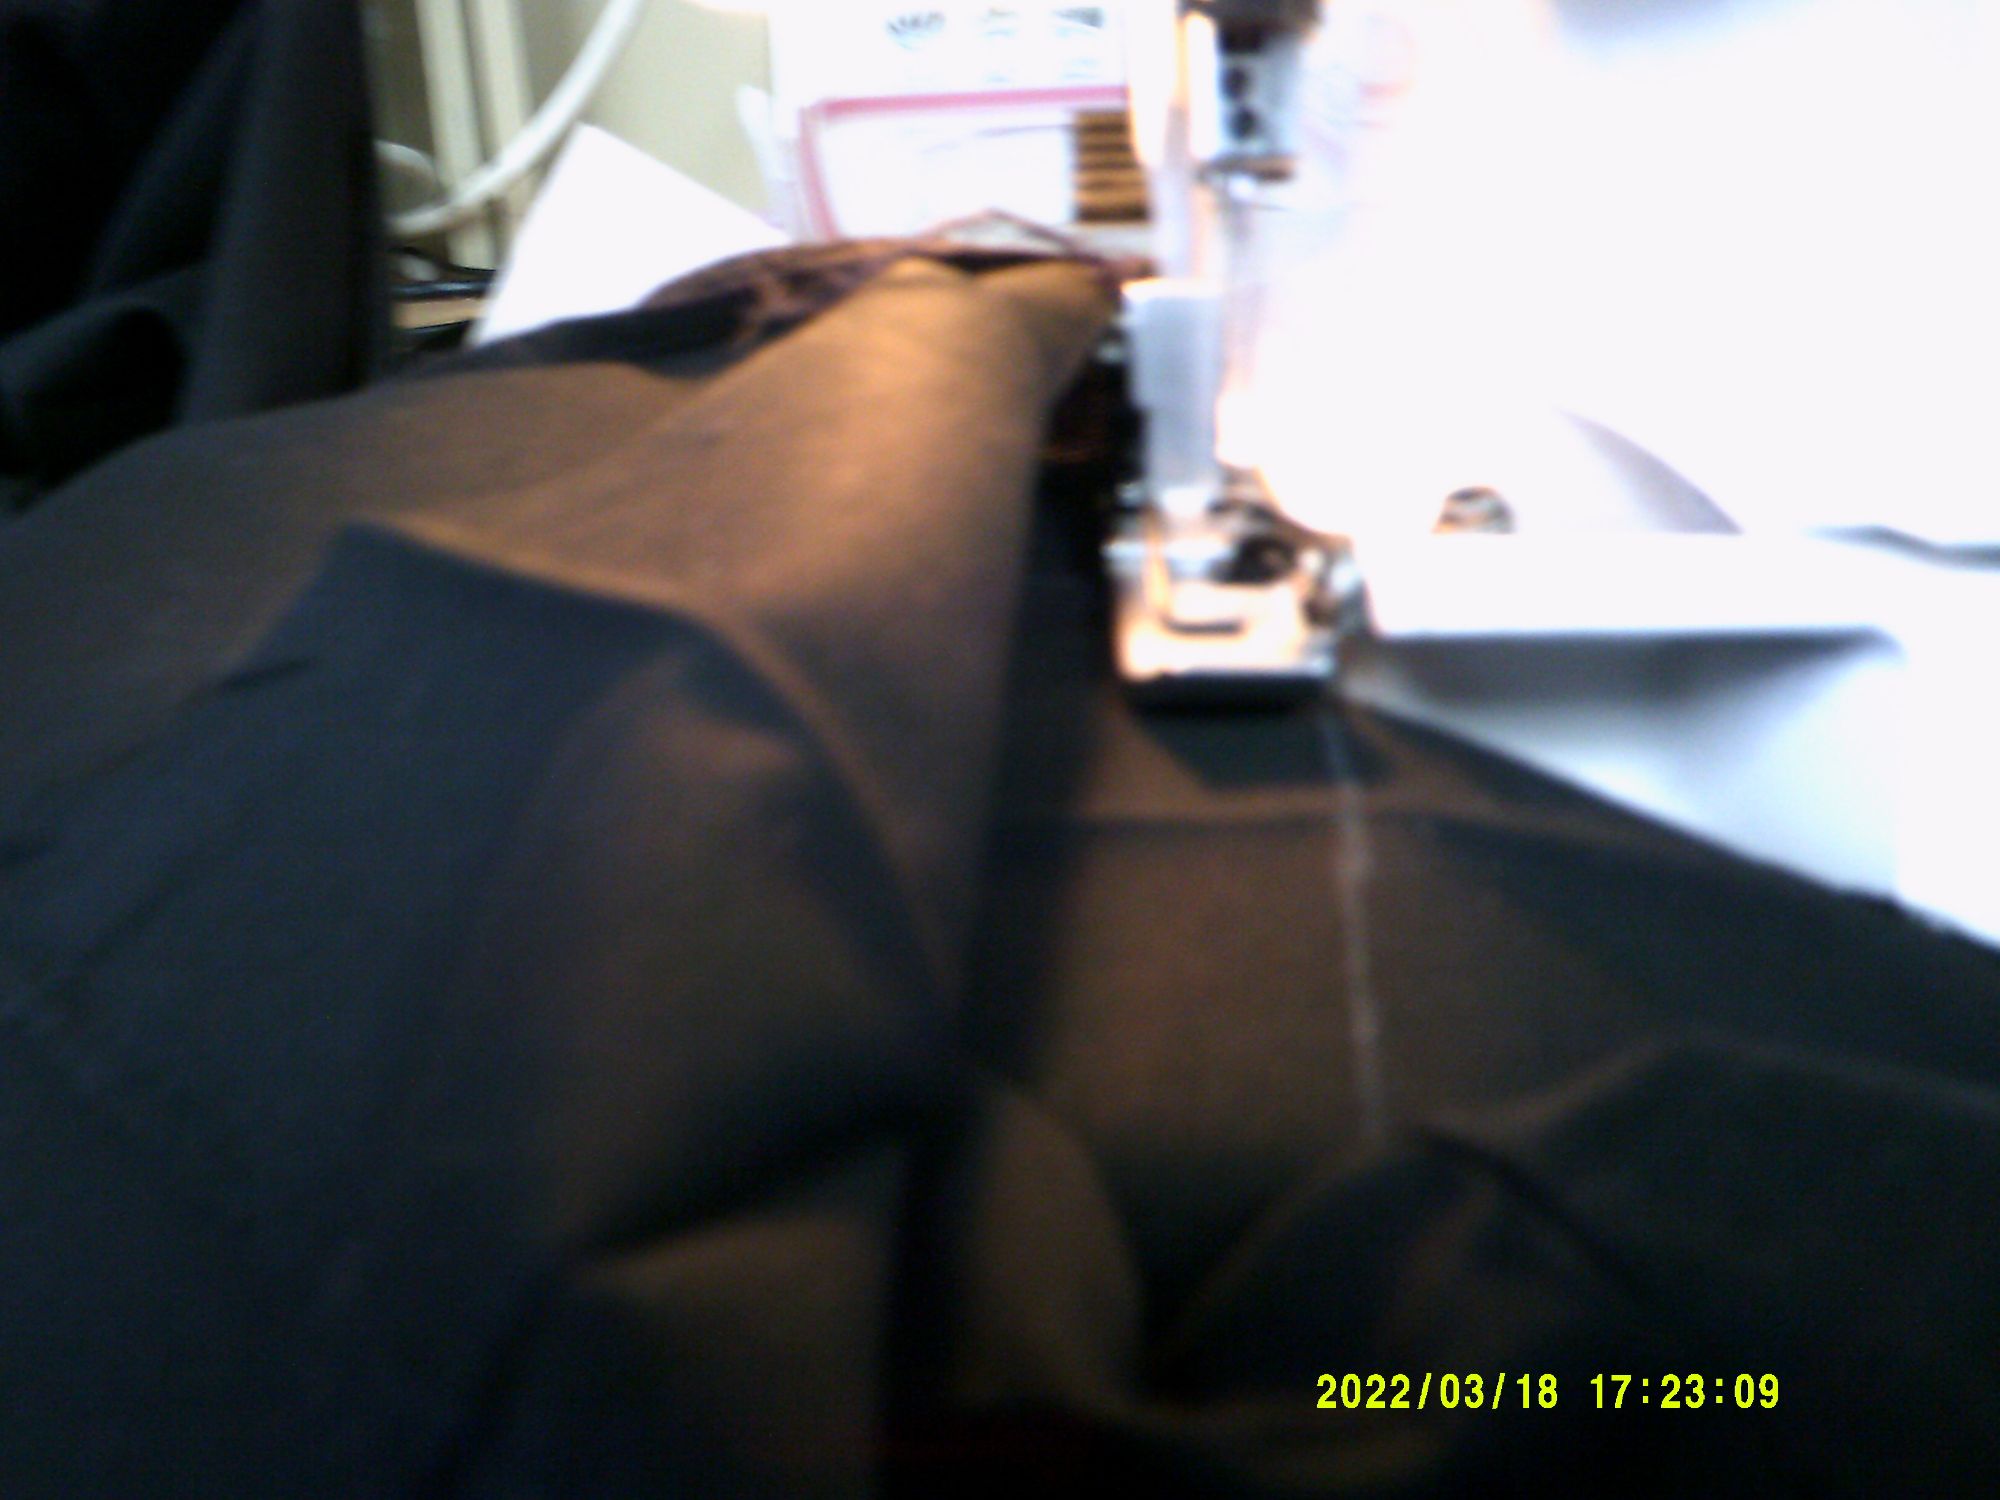
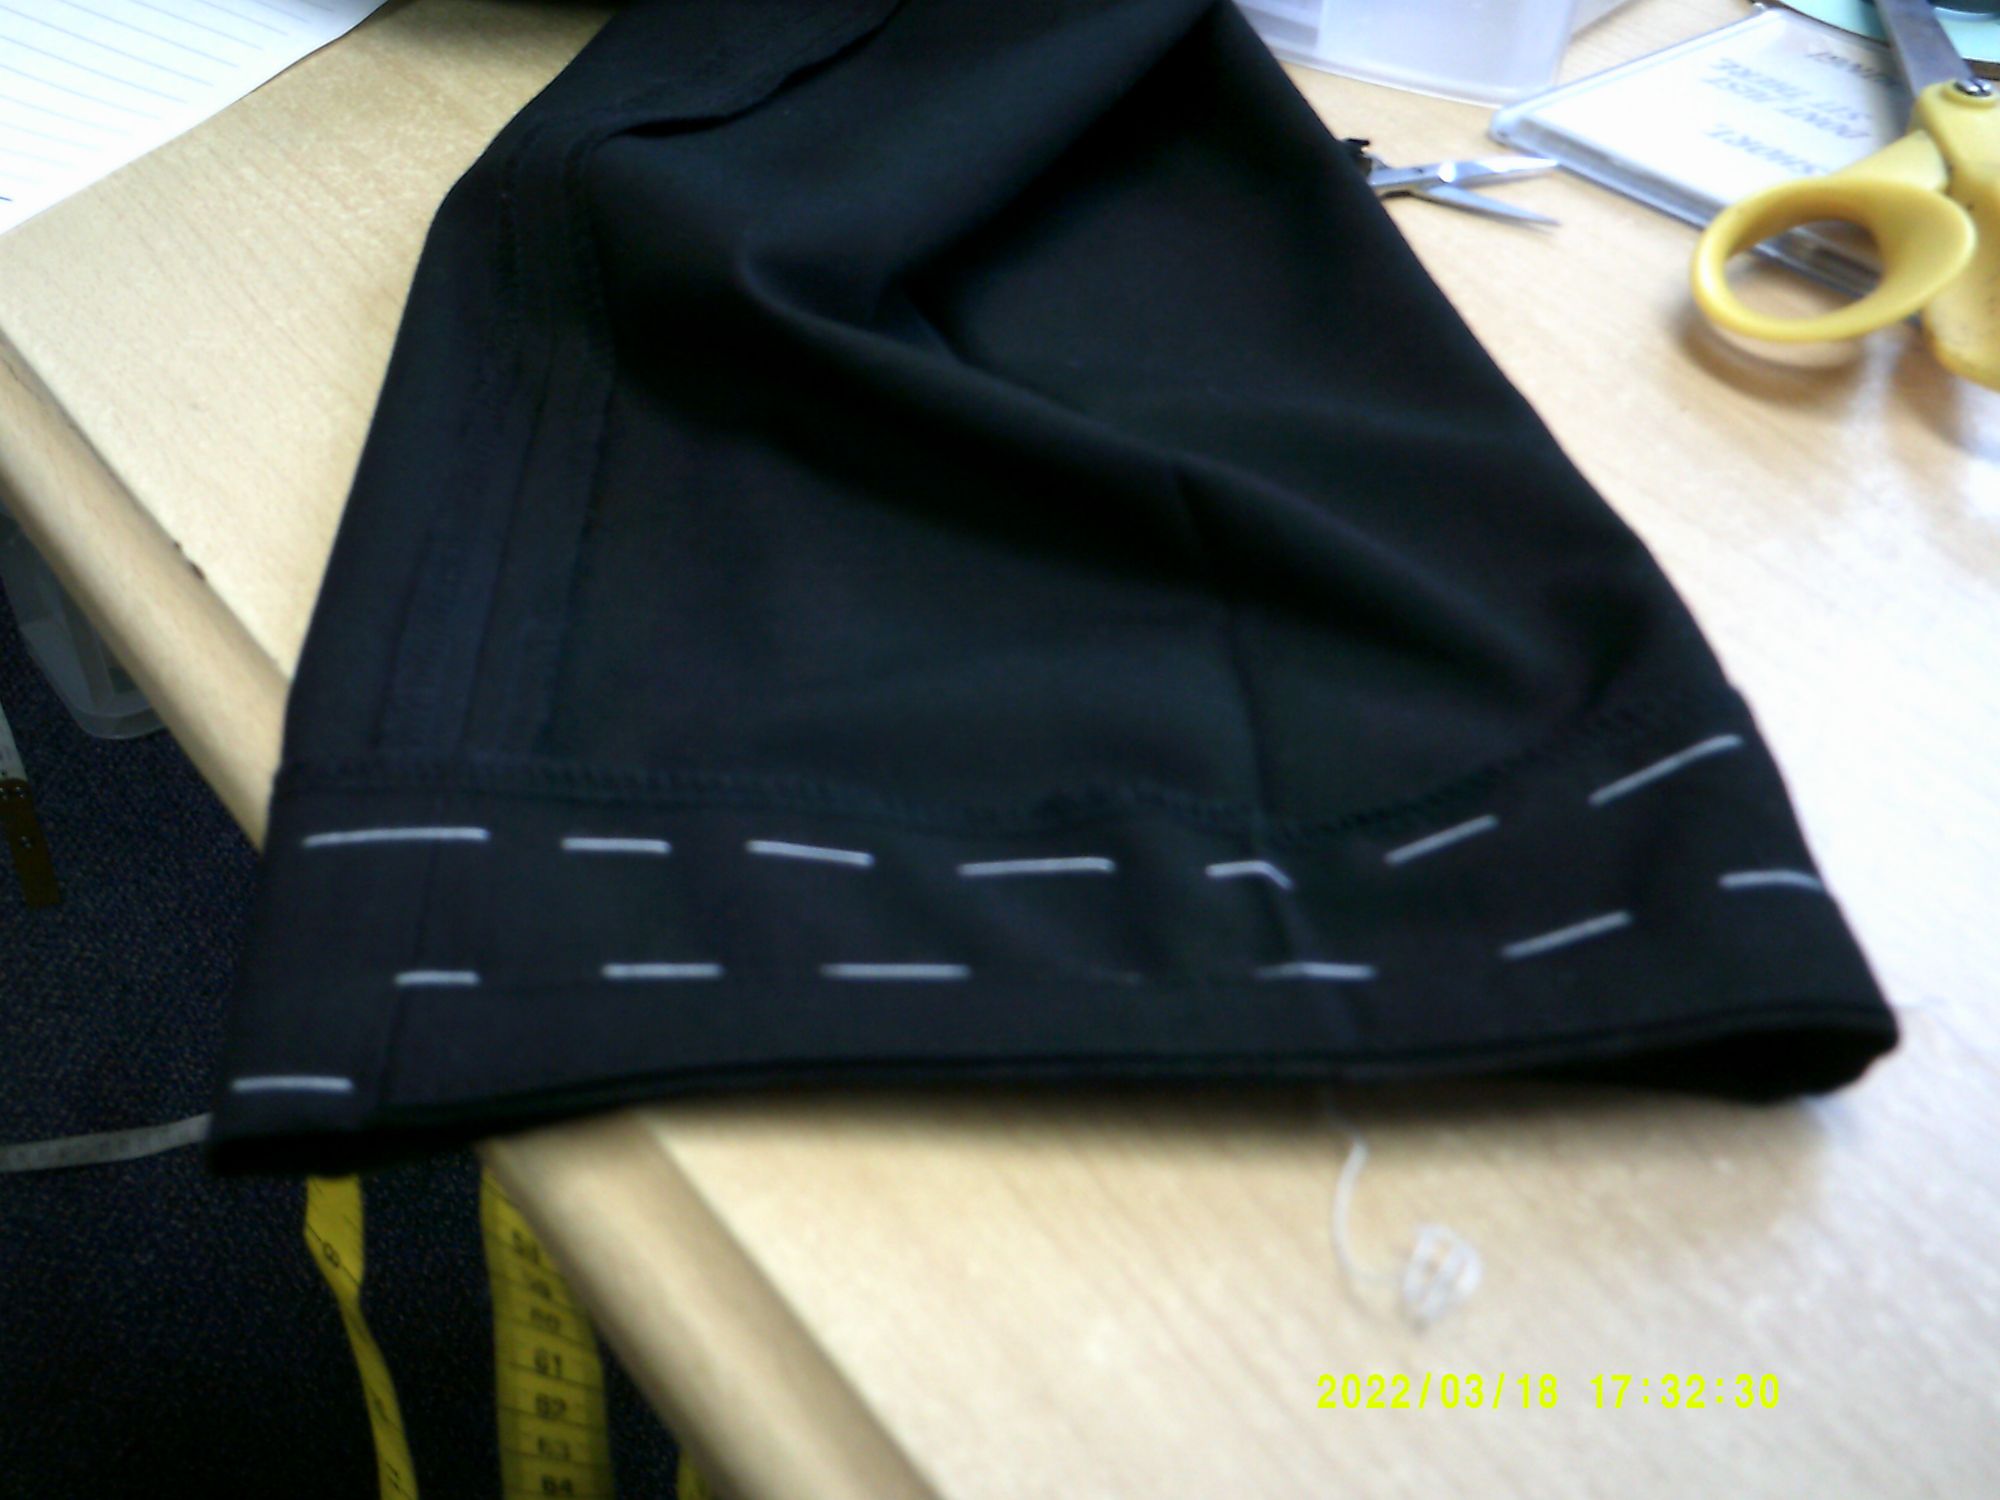
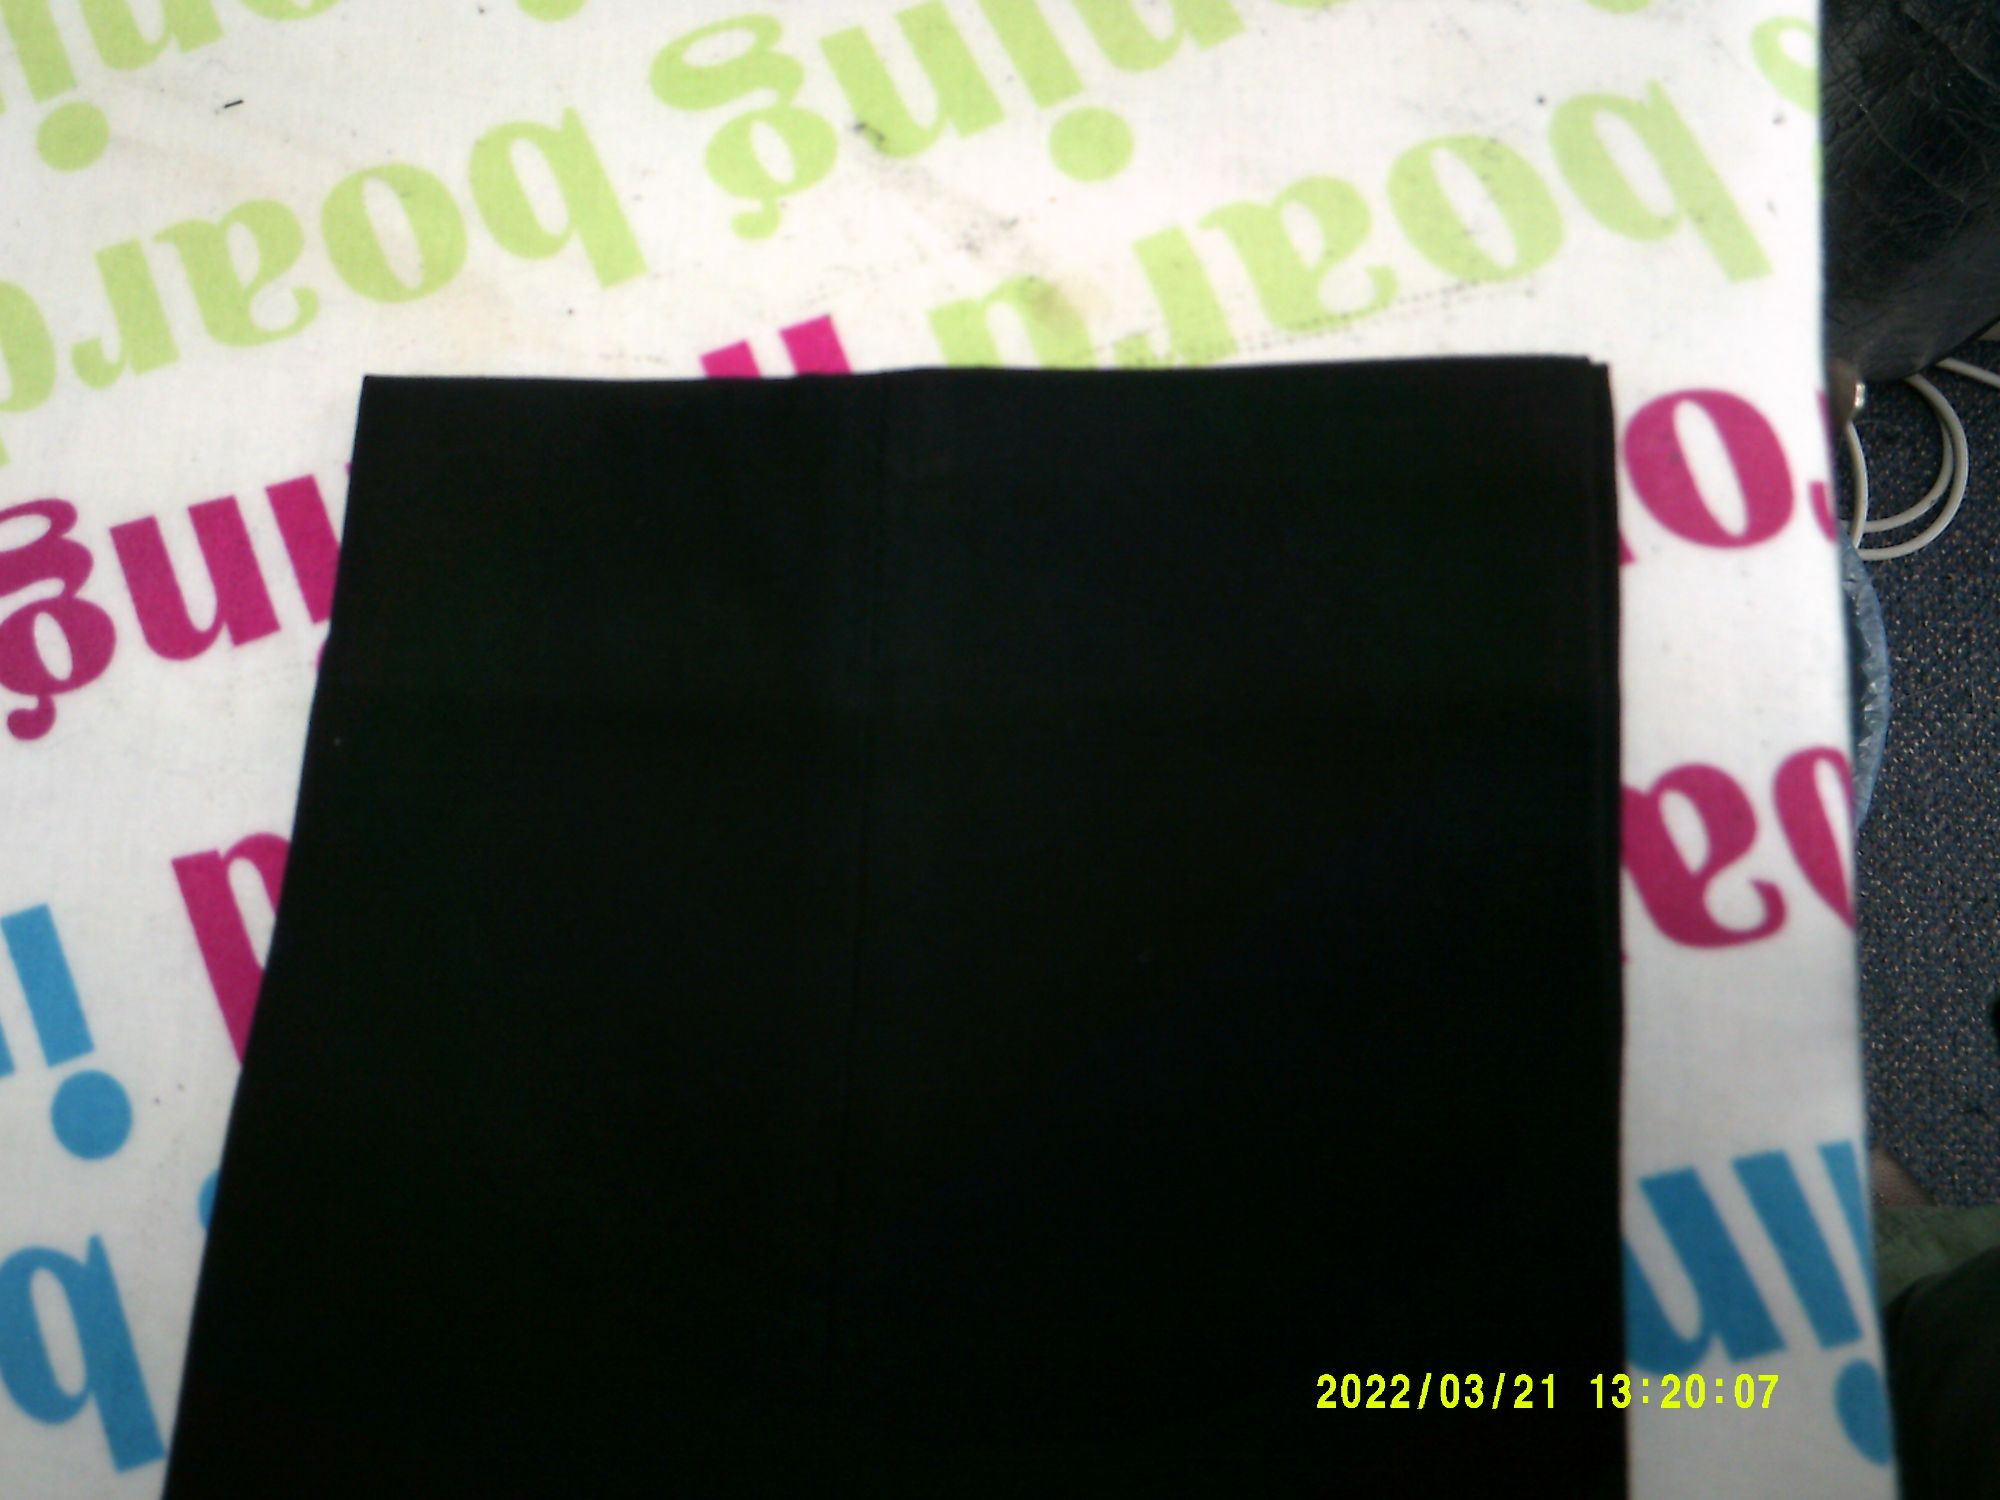
Process of shortening trousers
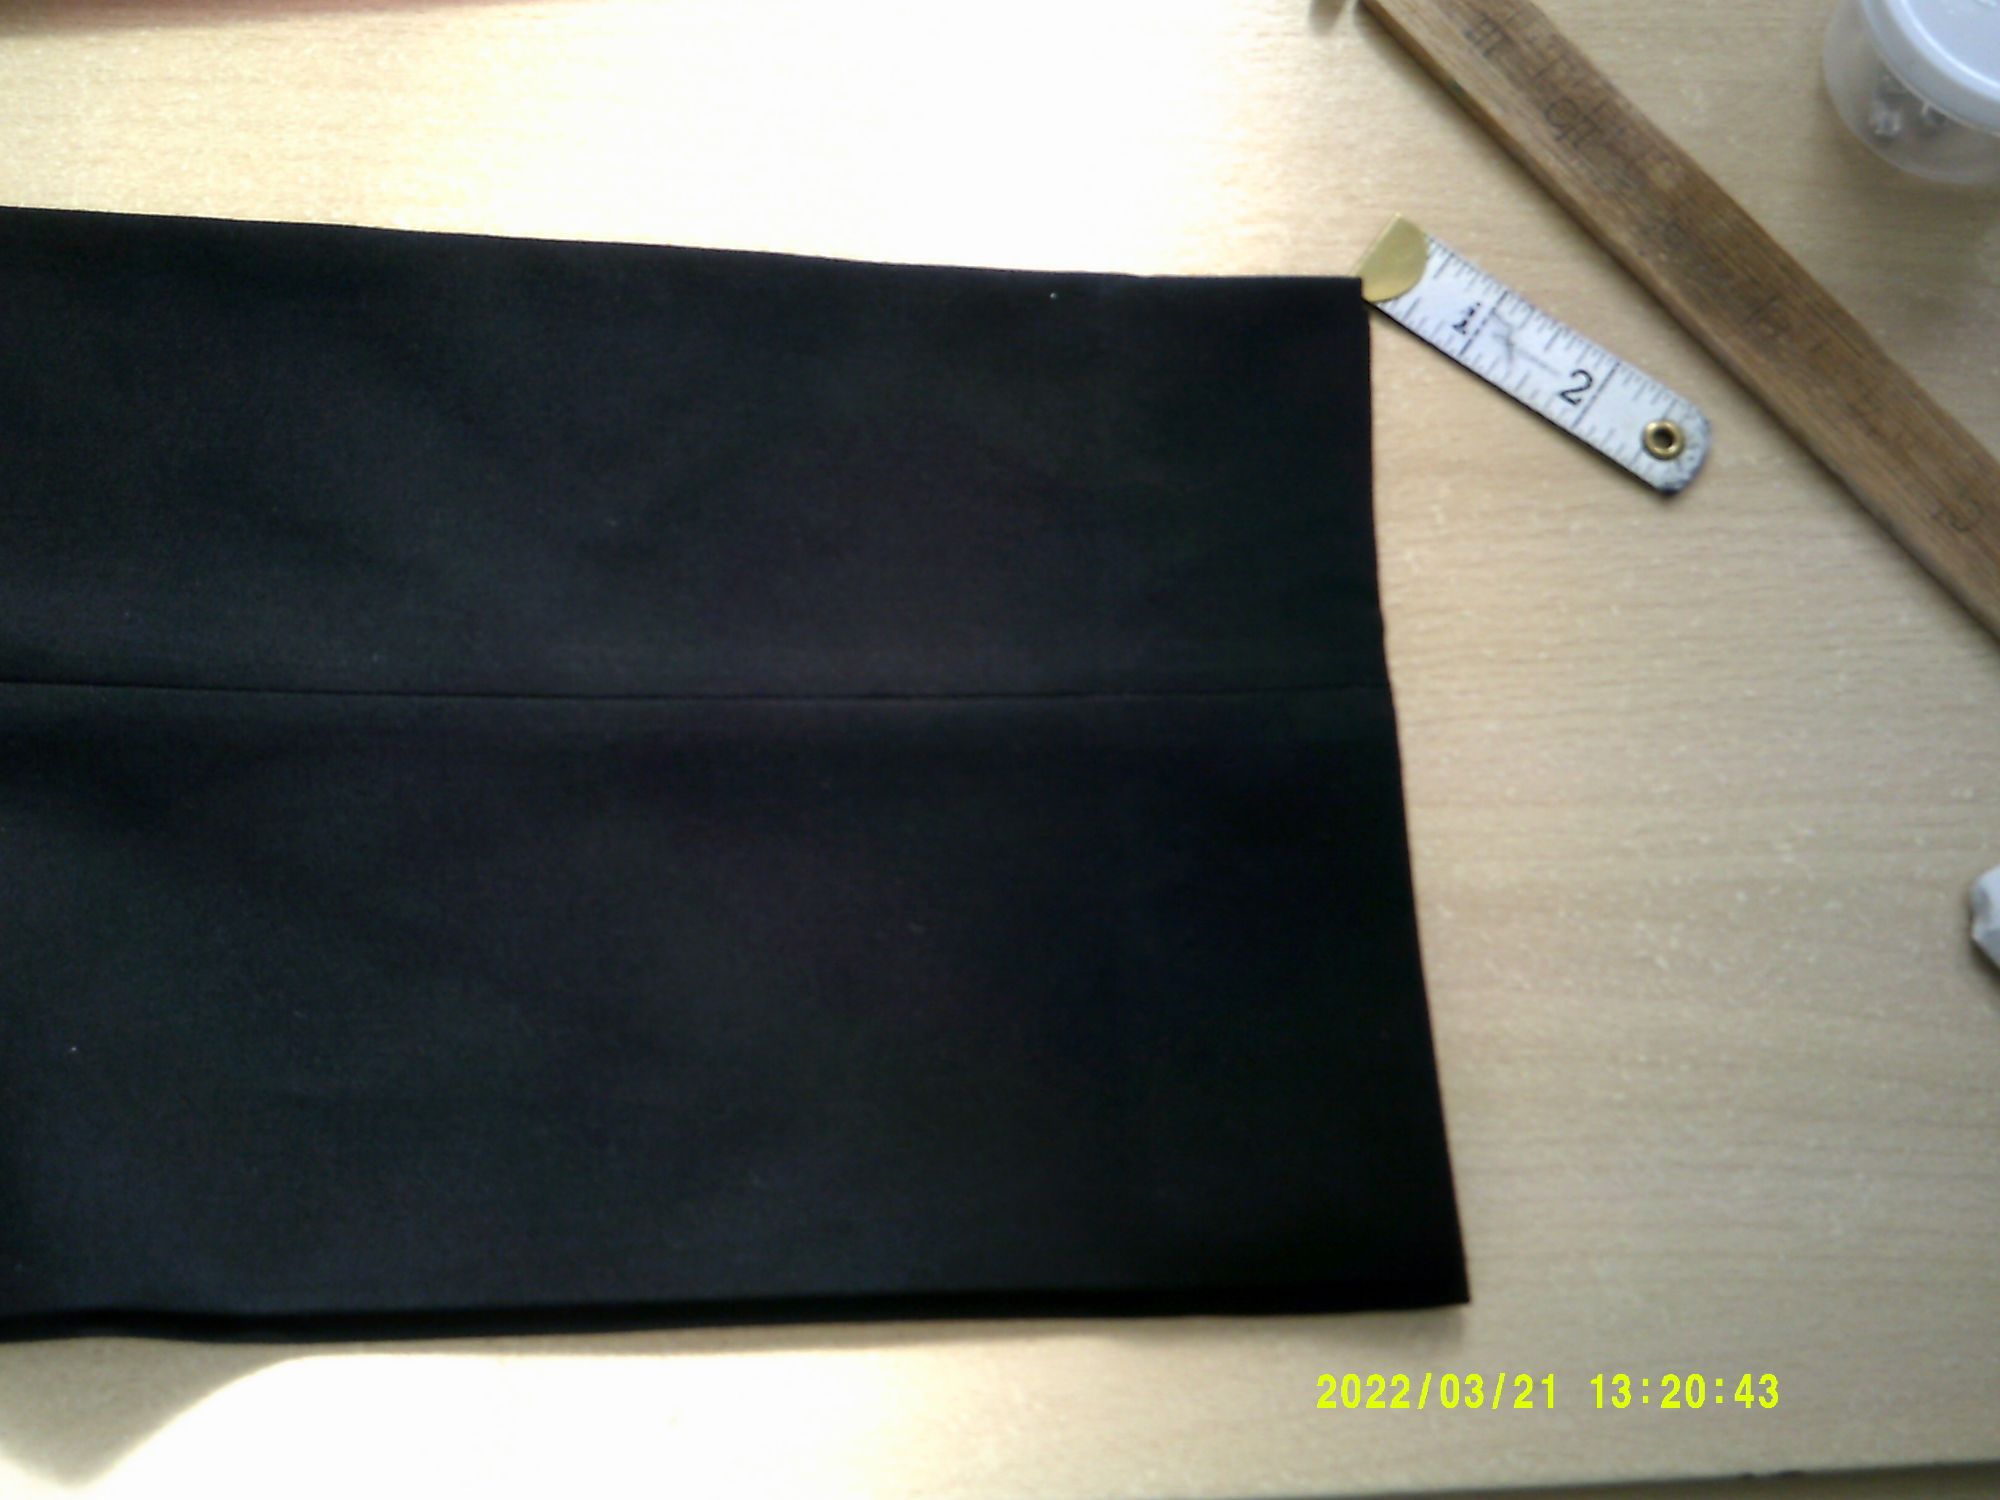
A pair of trousers needed to be shortened from 38 inches to 34 inches in length. They were pinned at the desired length and chalked up, ready to alter. Both legs were checked they were identical to each other and the trouser tape was replaced. The edges were overlocked and then tacked ready for hand stitching. The trousers were pressed and ready for collection.
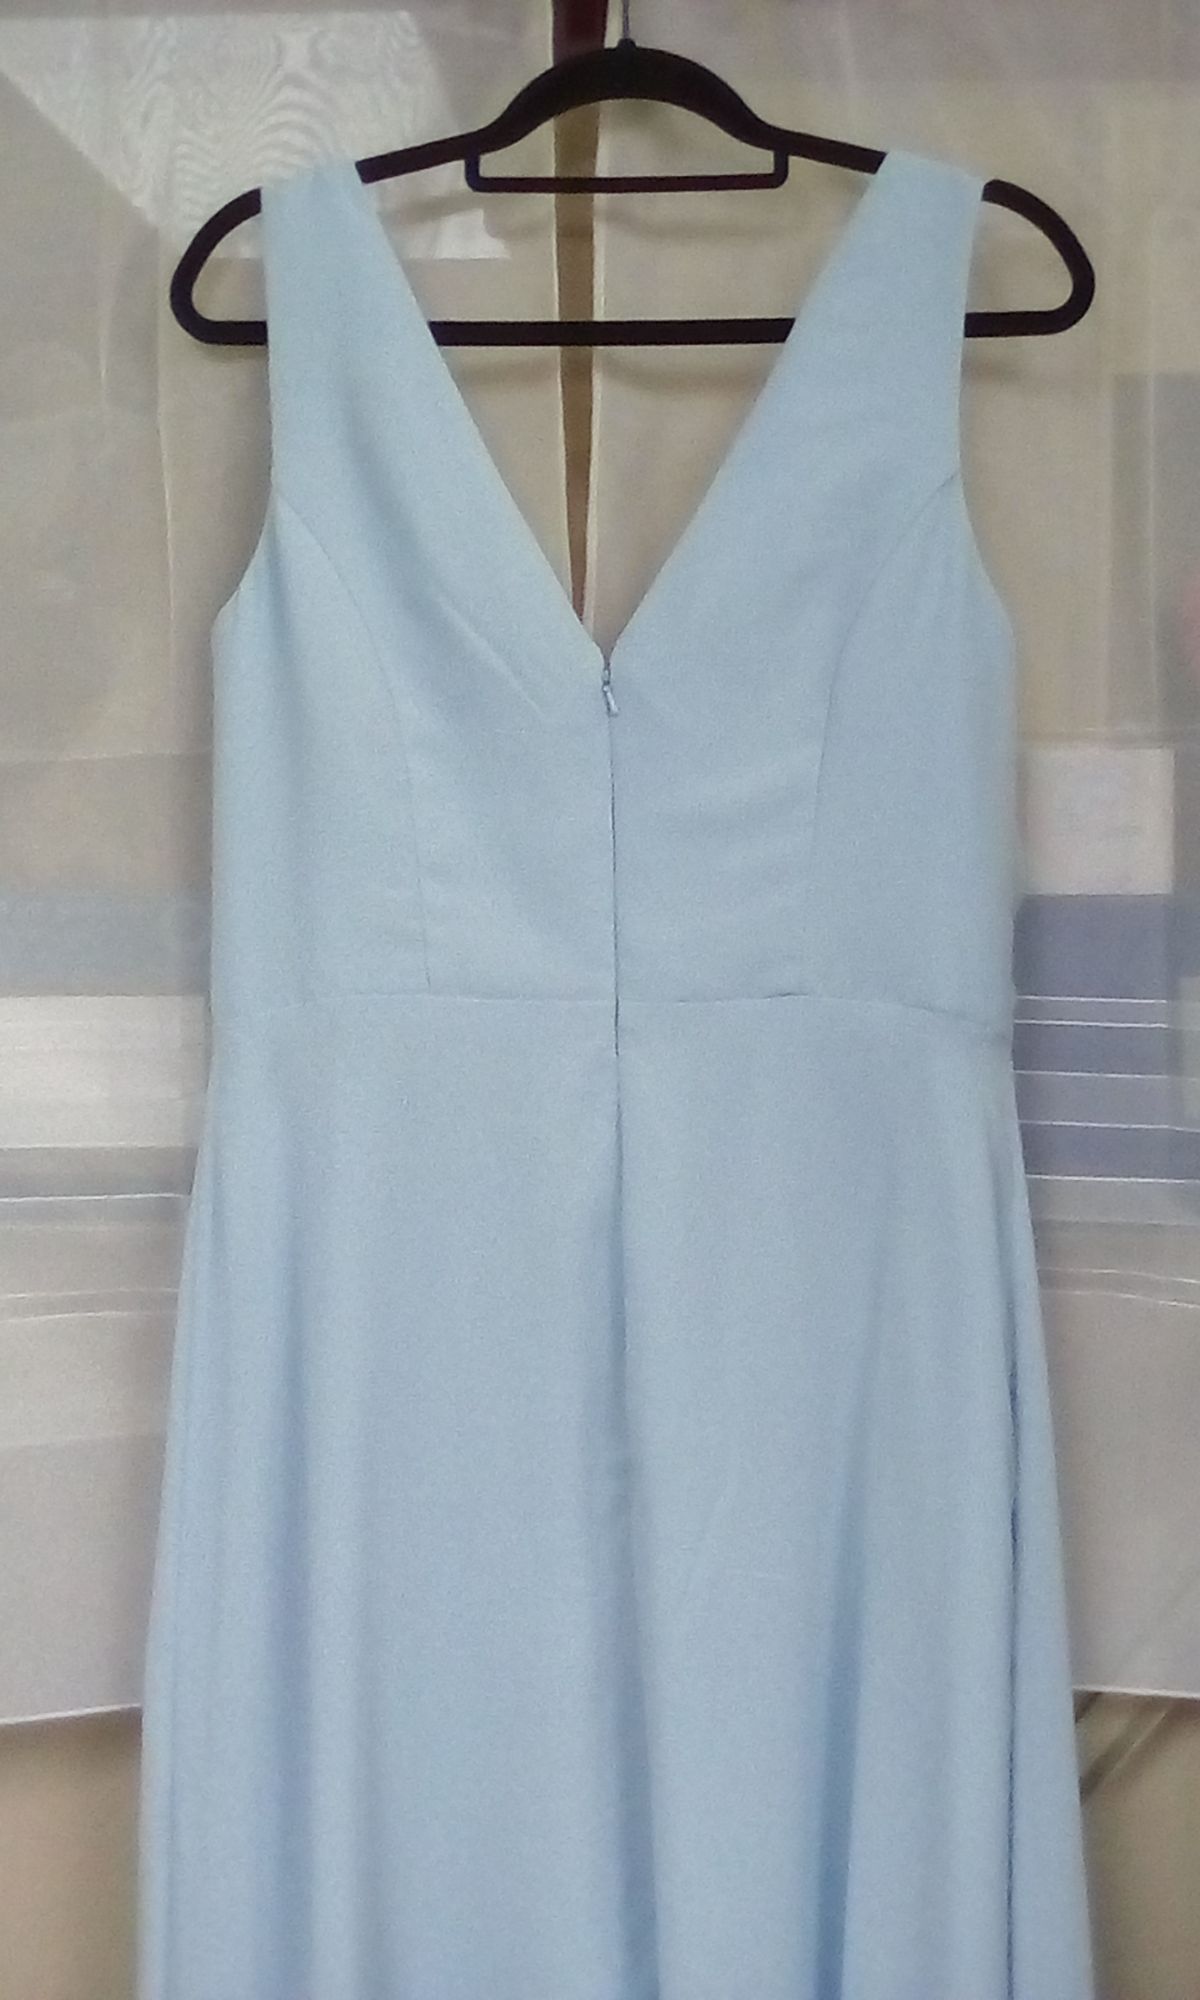
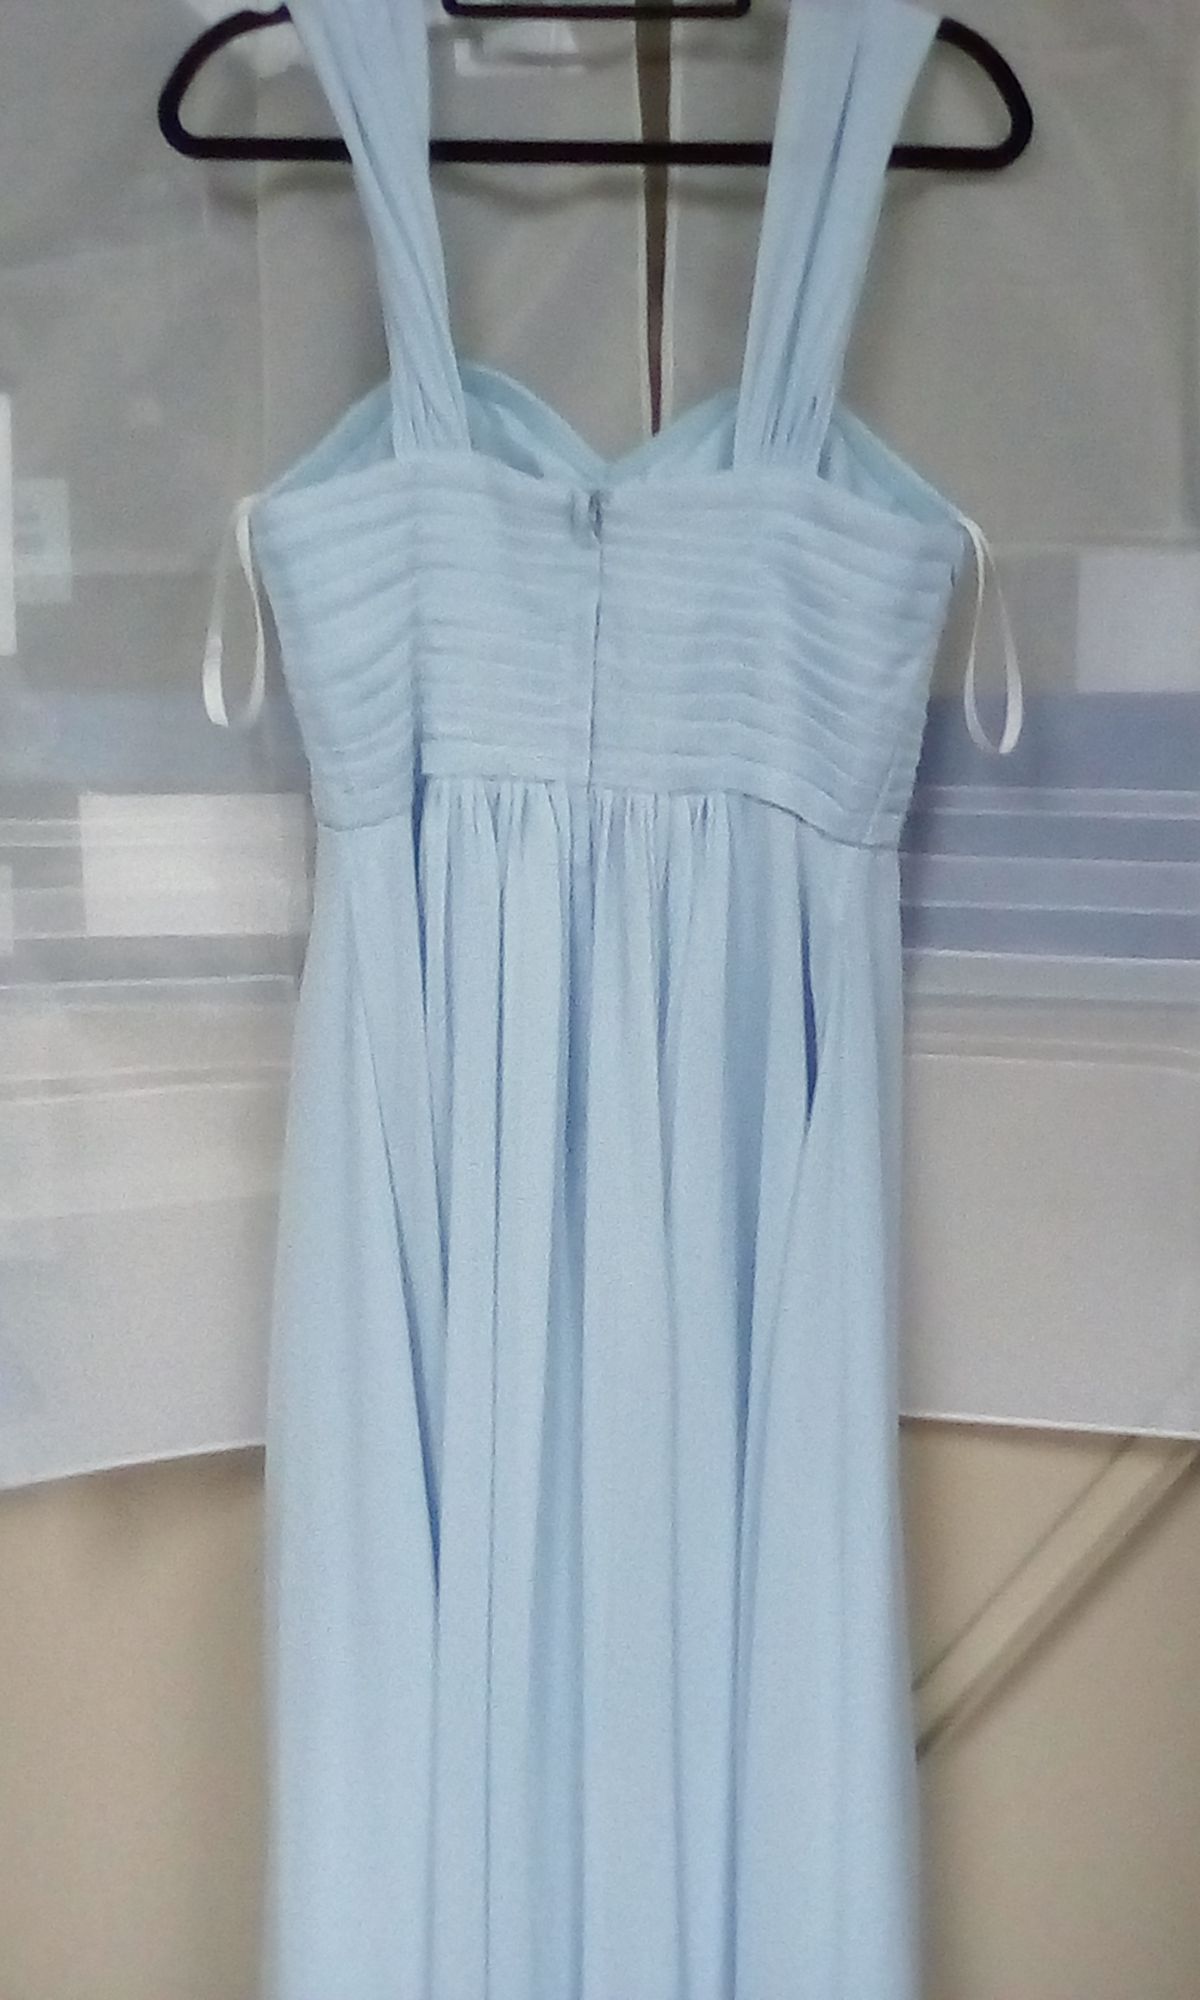
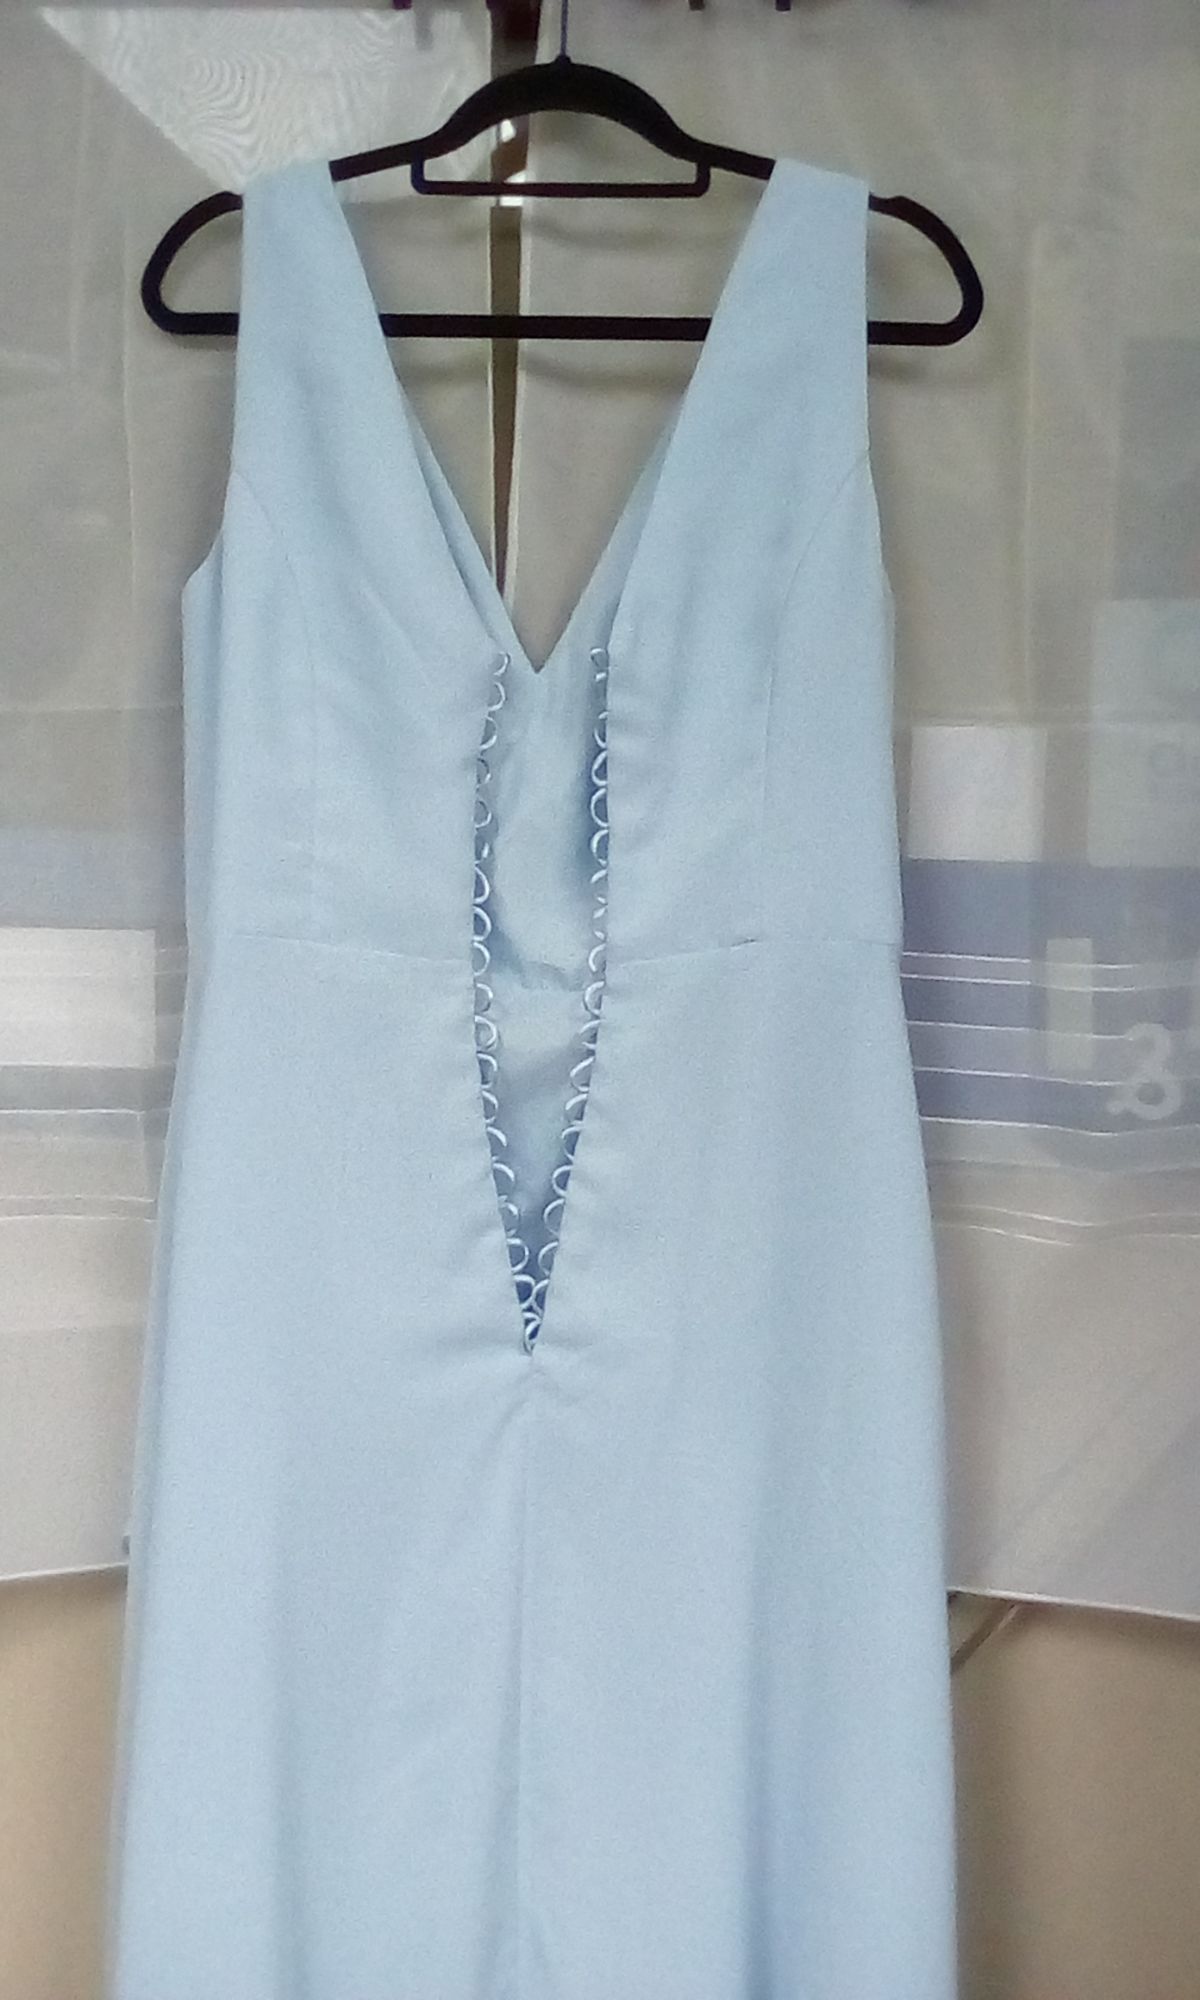
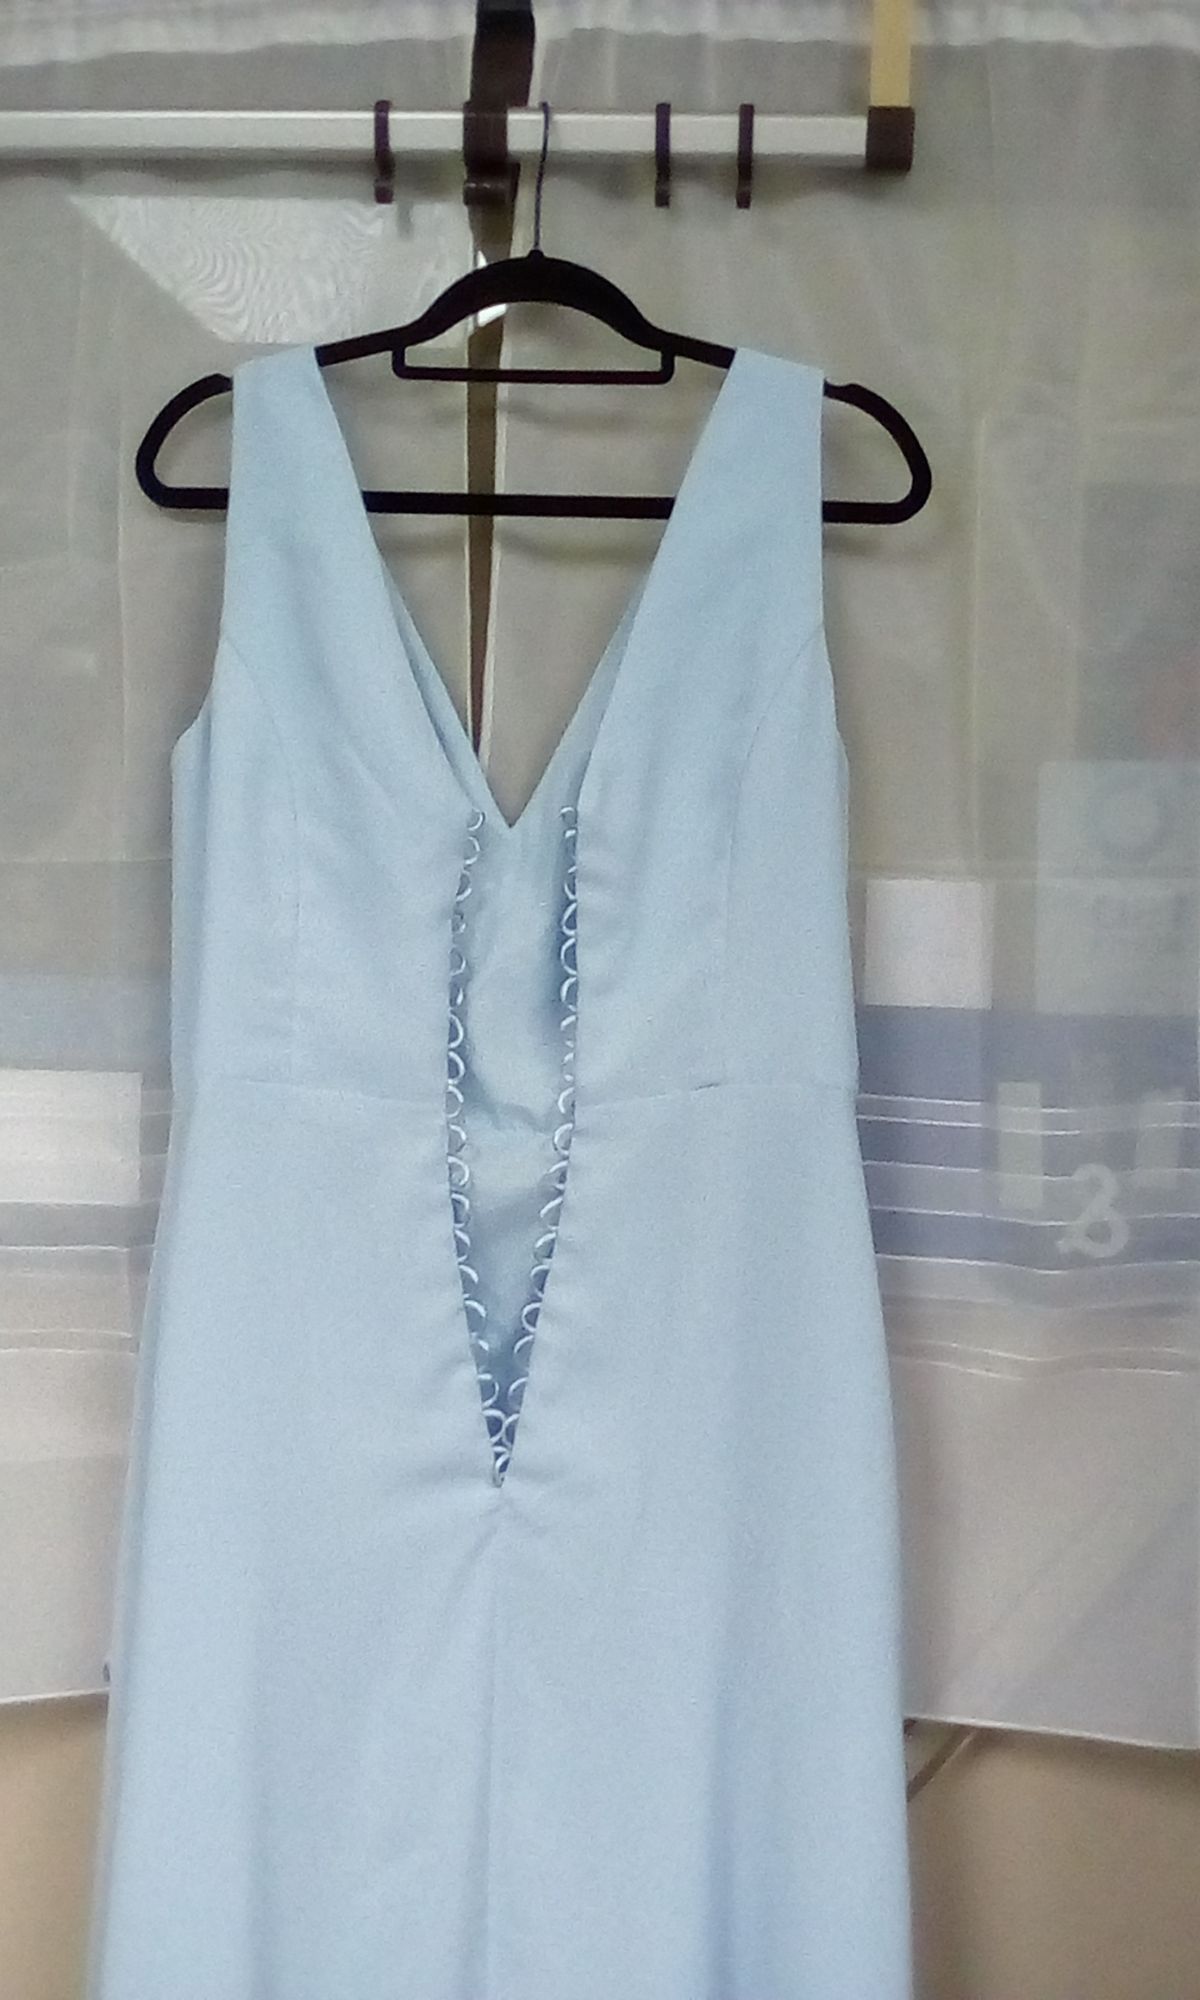
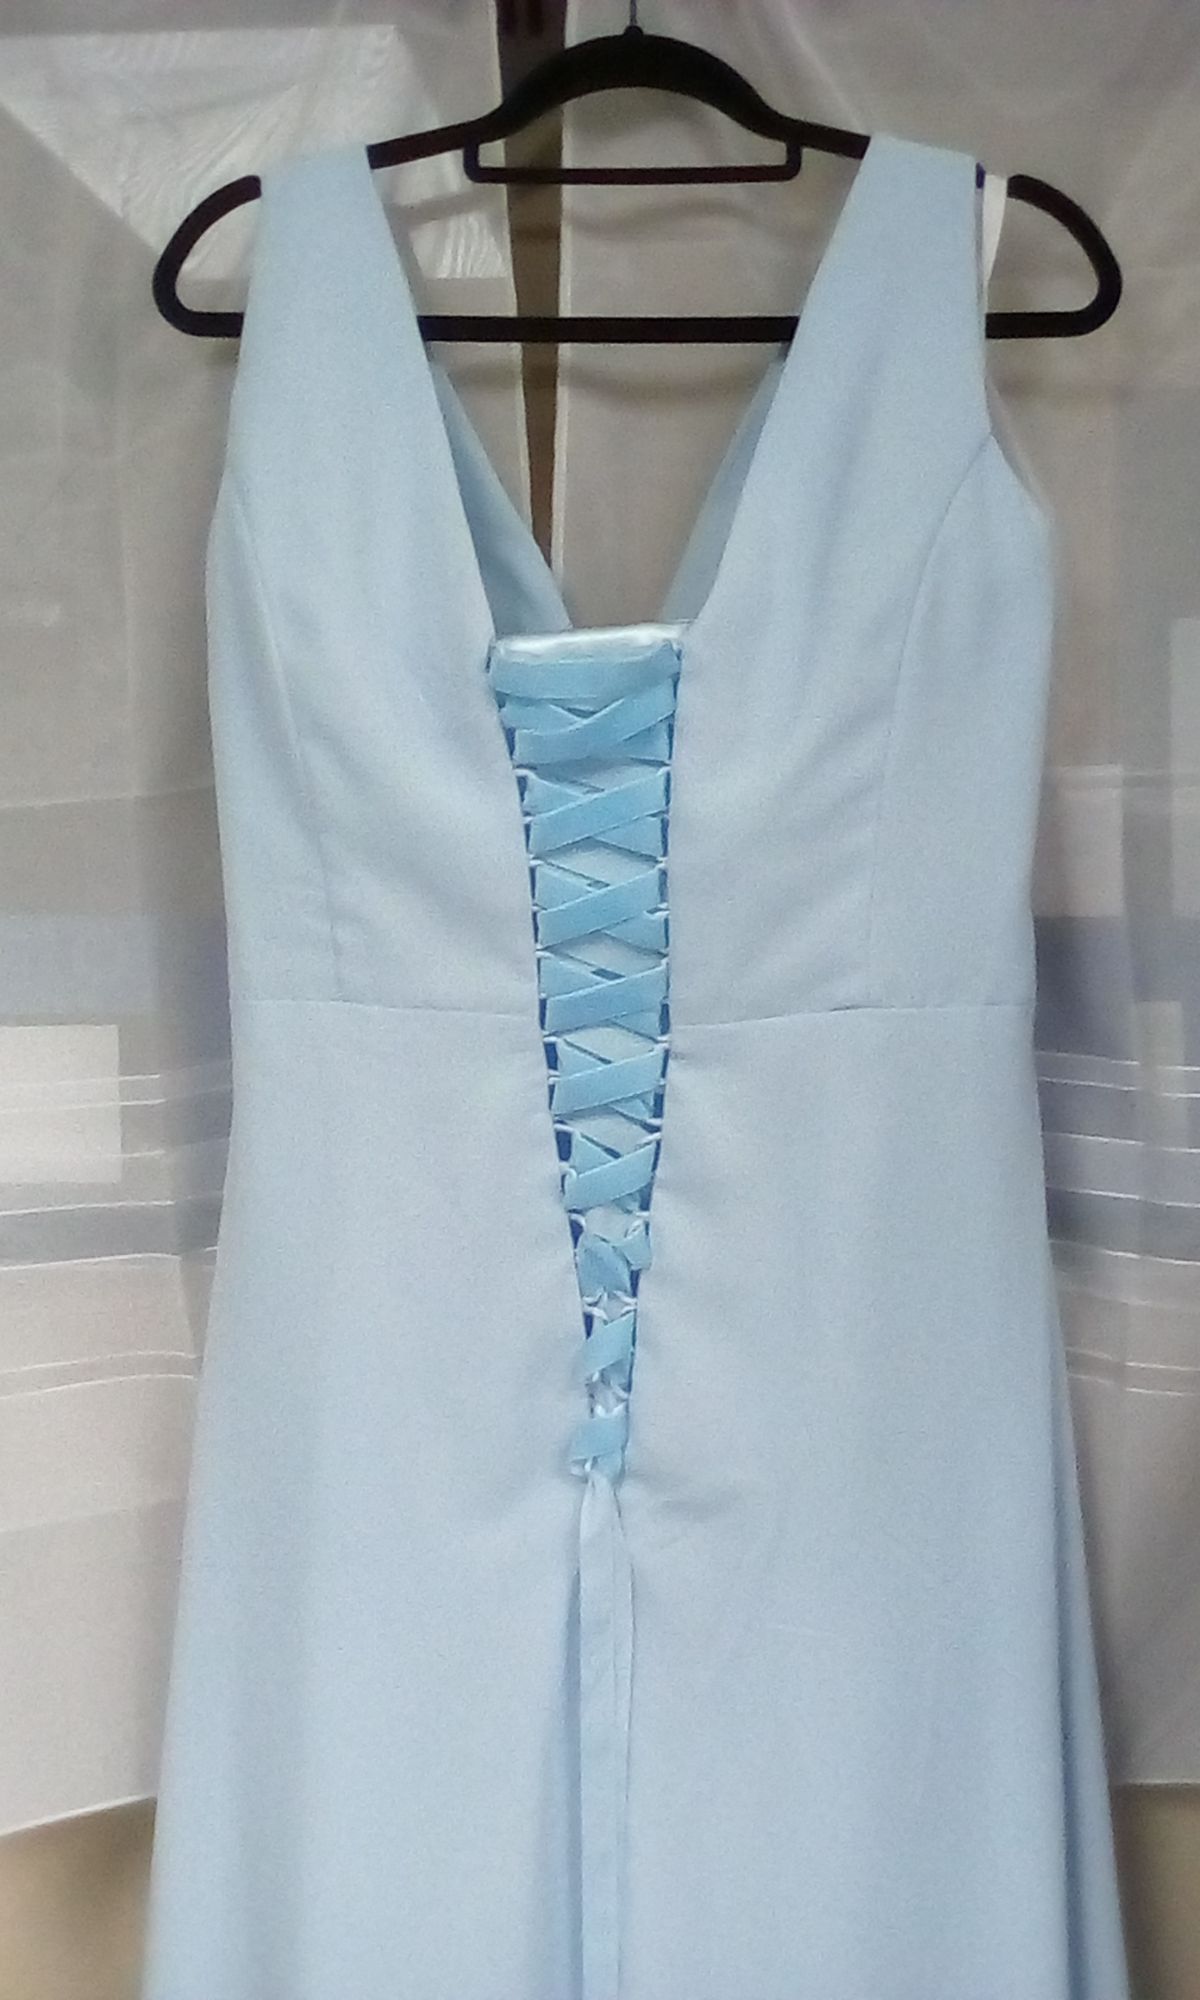
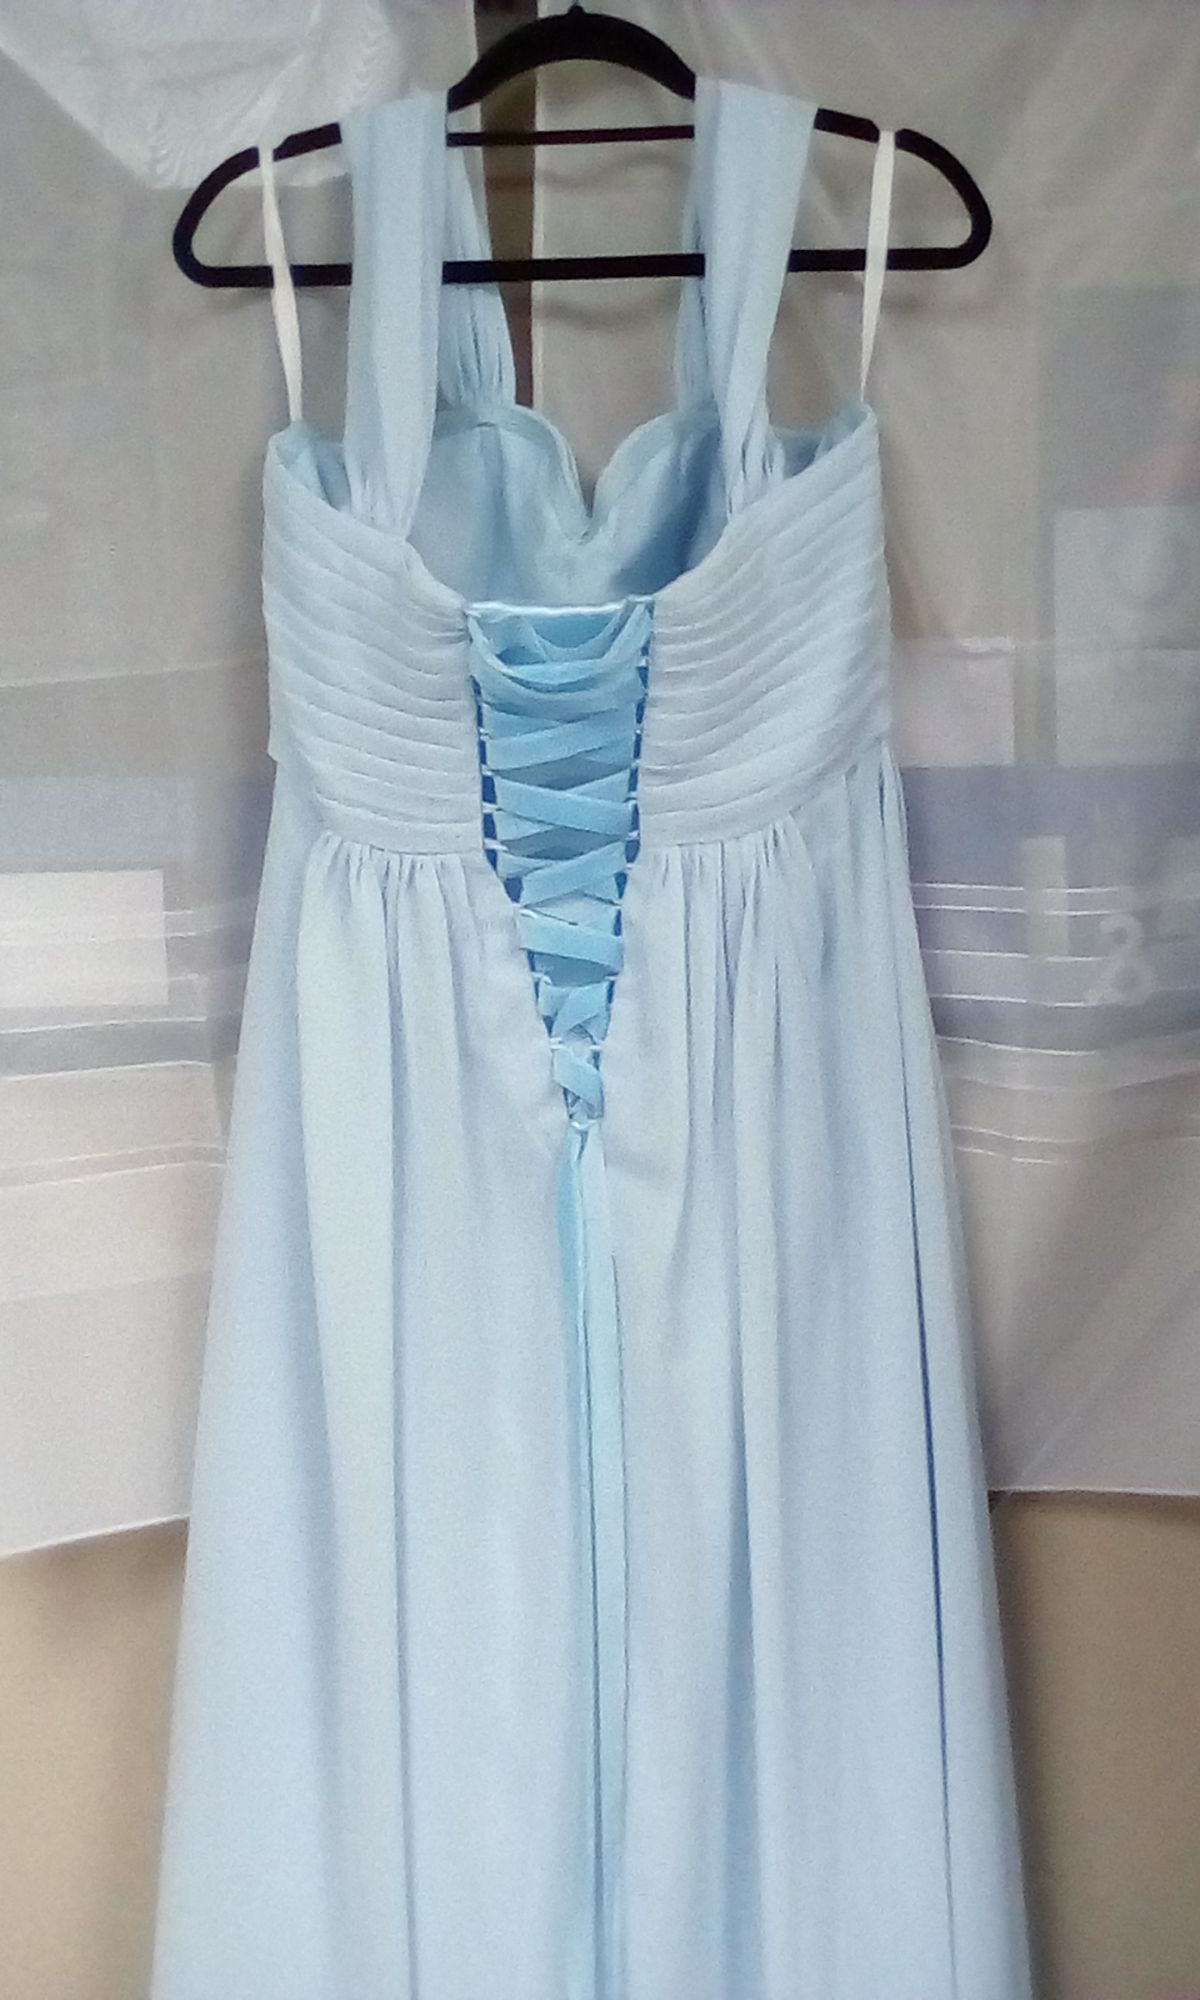
Bridesmaid dresses - Converting a zip fastening to a laced-up back with velvet ribbons
I removed the zips from two bridesmaid dresses and fitted colour matching loops.
A velvet ribbon was then threaded through the loops.
Dresses can also be altered the other way around from a lace back to a zipped back.